 Introduction
 Introduction
This guide is designed for homeowners, DIYers, and property investors who want a landscape that performs reliably with less maintenance. If you are dealing with high water use, recurring plant failure, or constant upkeep, switching to native plants offers a practical solution.
The goal is to help you plan and install native plants for landscaping that align with your region, soil, and sunlight conditions. When plants are matched correctly to their environment, they require fewer inputs and stabilize over time instead of needing ongoing correction.
Key Considerations Before You Begin
 Native plants are species that naturally occur in your specific region. This distinction matters because they are adapted to local rainfall, soil conditions, and seasonal changes. Using plants from a different region often leads to poor performance, even if they are technically native somewhere in the United States.
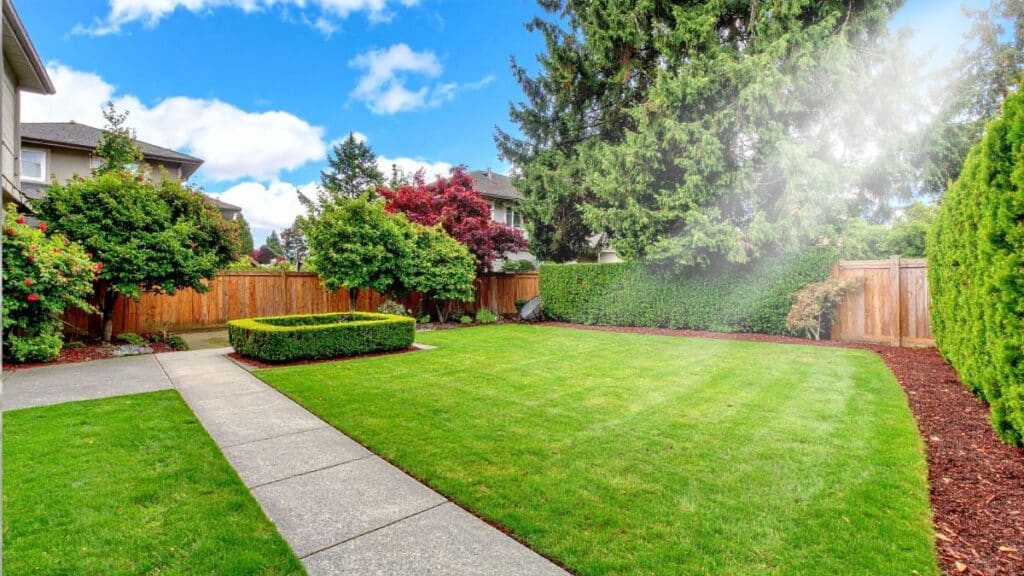
Start with your USDA Hardiness Zone, then evaluate microclimates within your property. A shaded backyard will behave differently from a sun-exposed front yard, even within the same zone. Walk your site at different times of day to identify sunlight patterns accurately.
Soil conditions should guide plant selection rather than be heavily modified. Clay soils retain moisture, while sandy soils drain quickly. Native plants are typically adapted to these conditions, so avoid excessive amendments unless soil tests indicate a clear issue.
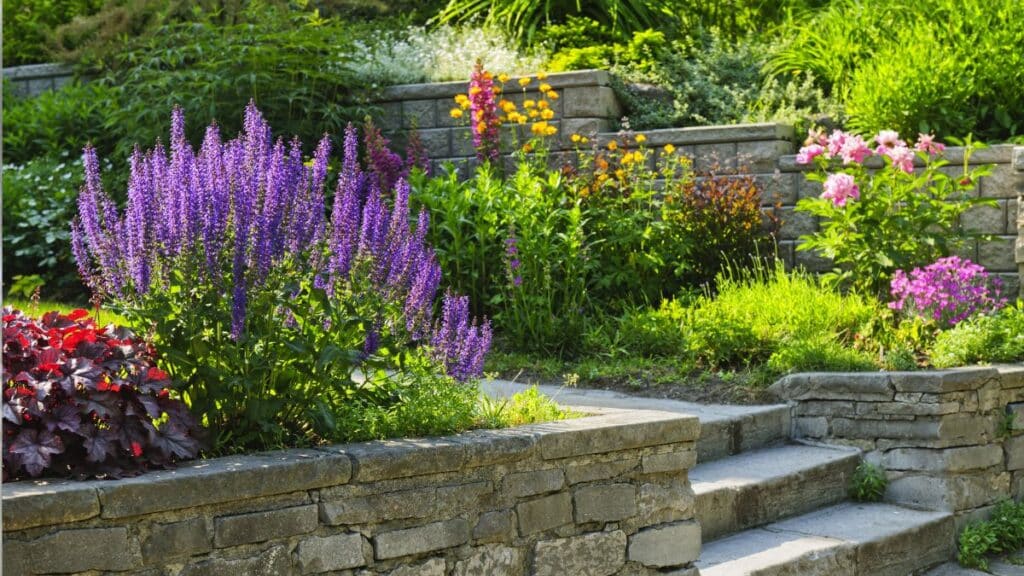
Define your design intent early. For structure and visual hierarchy, use dominant focal species often referred to as “garden queen plants.” These anchor the design and prevent the landscape from appearing scattered. For borders and transitions, use landscaping edging plants to create clean lines and reduce maintenance.
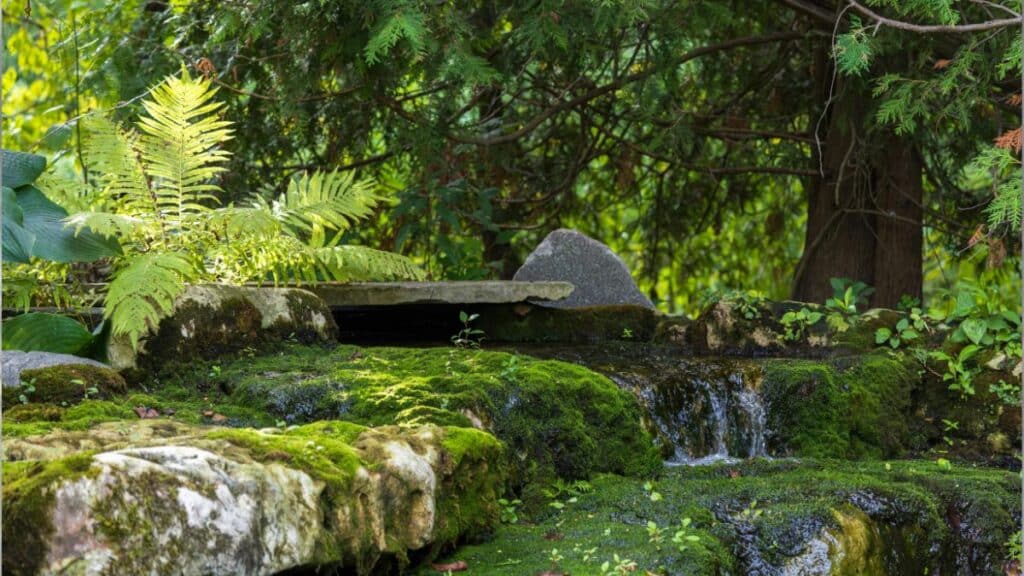
In shaded areas, plan carefully for a native plant shade garden. Not all shade is equal, and plant selection should reflect moisture levels and light intensity. Poor planning in these zones often leads to weak growth and repeated replacement.
Required Tools and Materials
Most installations can be completed with standard landscaping tools. A round-point shovel is used for digging, while a flat shovel helps with edging and turf removal. A rake is useful for leveling soil and spreading mulch evenly.
A soil test kit provides useful information about pH and nutrient levels. This helps avoid unnecessary amendments that can disrupt how native plants adapt to the site.
Plant materials typically include container-grown native plants or plugs, depending on budget and timeline. Organic mulch is recommended for moisture retention and weed control.
Optional materials include edging components such as metal or stone, or plant-based borders using landscaping edging plants. A basic drip irrigation kit can support plants during the establishment phase but should not be relied on long term if plant selection is appropriate.
Step-by-Step Installation Process
Step 1: Assess Site Conditions and Create a Layout Plan
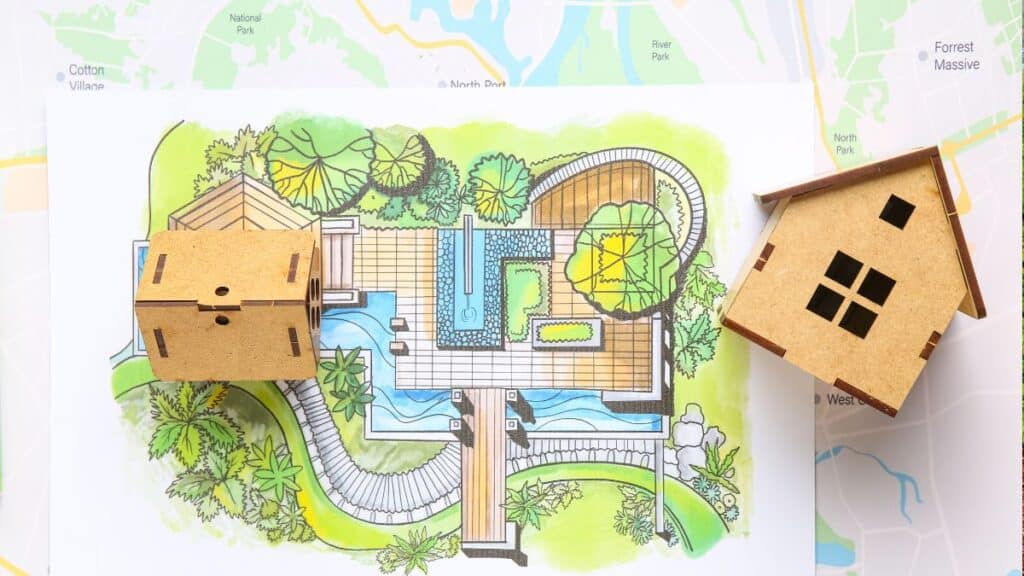 Begin by mapping your property and identifying sunlight exposure throughout the day. This prevents placing plants in conditions they cannot tolerate, which is a common cause of failure.
Test soil conditions in multiple areas. Front yards often have compacted soil from construction, while backyard areas may have better drainage. These differences should influence plant placement.
Create a simple layout. Position taller garden queen plants as focal points or background elements. Use mid-sized shrubs and grasses to fill the middle layer, and place landscaping edging plants along borders and pathways.
Group plants by similar water and sunlight needs. This reduces the need for complex irrigation and helps maintain consistent plant health across the landscape.
Step 2: Prepare the Soil and Establish Defined Borders
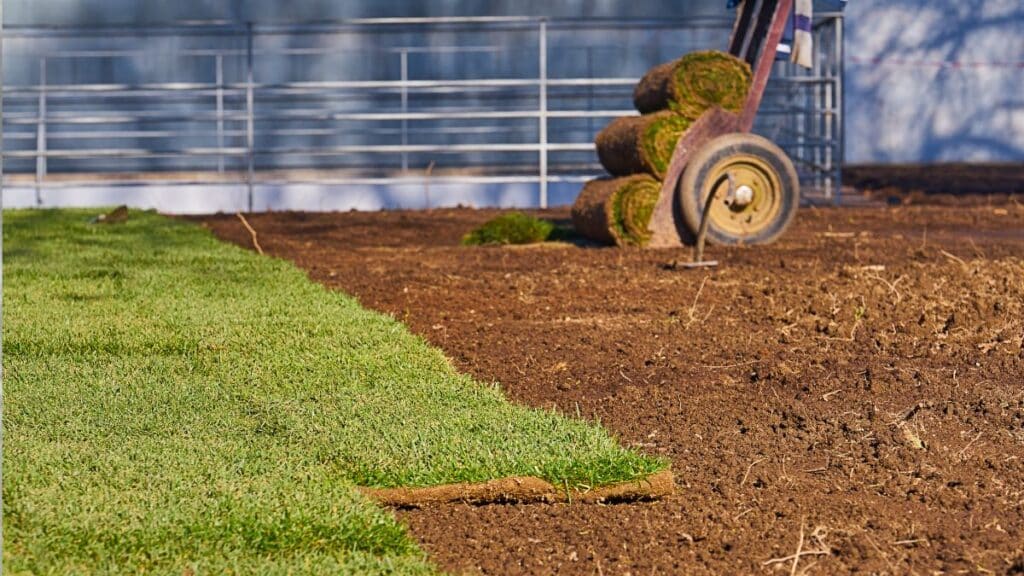
Remove existing turf and invasive plants completely. Leaving roots behind can lead to regrowth, which competes with new plantings and increases maintenance.
Loosen the soil to a depth of 6 to 12 inches to improve root penetration. Avoid over-amending unless soil tests indicate a problem. Native plants perform best when allowed to adapt to existing conditions.
Install edging before planting to define boundaries. Physical edging creates clean lines, while plant-based borders using landscaping edging plants offer a more natural transition.
If you plan to install irrigation, position drip lines at this stage. This prevents disturbance after planting and ensures even water distribution during establishment.
Step 3: Native Plants for Landscaping Installation and Establishment
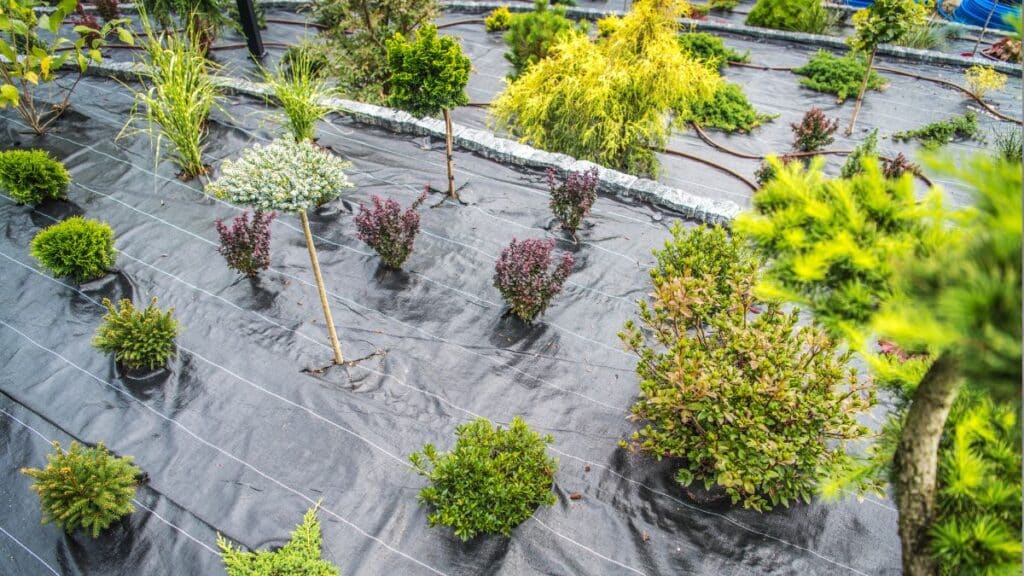 Arrange plants in their intended positions before digging. This allows you to adjust spacing based on mature size rather than container size. Overcrowding is a common issue that leads to pruning and airflow problems.
Dig holes two to three times the width of the root ball and no deeper than the root mass. Planting too deep can restrict oxygen to roots and lead to long-term decline.
Start with garden queen plants to establish structure, then fill in with complementary species. For example, a native shrub can be surrounded by grasses and groundcovers to create layered planting.
Water thoroughly after planting and apply two to three inches of mulch. Keep mulch away from plant stems to prevent rot. Maintain consistent watering during the first one to two growing seasons until plants establish.
Mistakes to Watch Out For
One of the most frequent mistakes is selecting plants that are not native to the specific region. This often results in higher maintenance and lower survival rates.
Ignoring mature plant size leads to overcrowding and increased maintenance. Plants that appear small at purchase can expand significantly over time.
Over-amending soil can reduce plant resilience. Native plants are adapted to local conditions, and excessive inputs can create dependency on fertilizers and irrigation.
Mixing plants with different water or sunlight needs complicates maintenance. For example, watering a shaded area heavily to support one plant can harm others that prefer drier conditions.
Poor planning of a native plant shade garden often results in plant stress or failure. Shade conditions must be matched carefully with plant requirements.
Safety Guidelines and Regulatory Considerations
Always call 811 before digging to locate underground utilities. This is a critical safety step that prevents damage to gas, electrical, and water lines.
Maintain appropriate distance from foundations and structures. Planting too close can lead to moisture issues or root interference over time.
In wildfire-prone regions, follow defensible space guidelines. Proper spacing and plant selection reduce fire risk near structures.
Be aware of local drainage regulations. Altering water flow can affect neighboring properties and may violate municipal codes.
Ensure plant placement does not obstruct visibility near driveways and sidewalks. Maintaining clear sightlines is important for safety and compliance.
Frequently Asked Questions
What are the best native plants for landscaping in my state?
The best options depend on your specific region and site conditions. Local extension services and native plant organizations provide reliable, location-specific recommendations.
How do I start a native plant shade garden?
Identify the level of shade and soil moisture, then select plants adapted to those exact conditions. Avoid mixing plants with conflicting requirements.
Do native plants require less maintenance?
Yes, once established. They are adapted to local conditions, which reduces the need for watering, fertilizing, and pest control.
What are landscaping edging plants and why are they important?
These are low-growing plants used to define borders. They improve visual structure and help limit weed spread into planting beds.
What are “garden queen plants” in landscape design?
These are dominant focal plants that provide structure and visual hierarchy within the landscape.
How long does it take for native plants to establish?
Most native plants require one to three growing seasons to fully establish, depending on species and conditions.
Can I mix native and non-native plants?
Yes, but they should have similar care requirements to avoid uneven maintenance demands.
Do native plants increase property value?
They can improve curb appeal and reduce maintenance costs, both of which contribute to overall property appeal.
Practical Final Advice and When to Hire a Professional
Start with a manageable area rather than converting your entire yard at once. This allows you to observe plant performance and make adjustments before expanding.
Focus on proper plant selection and placement. A landscape that matches site conditions will improve over time with less intervention.
Monitor the first growing season closely. Look for signs of poor drainage, overwatering, or plant stress, and make adjustments early.
Consider professional help for grading issues, drainage problems, or large-scale installations. Projects involving regulatory requirements or complex site conditions also benefit from expert input.
A well-planned native landscape should stabilize over time, reducing maintenance rather than creating ongoing work.