 Introduction
 Introduction
This guide is for homeowners, DIY-focused renters, property investors, and contractor-aware consumers who want a practical way to clean bathroom surfaces without relying on specialty products. In most showers, the main problems are soap scum, hard water deposits, and residue that builds up gradually on walls, doors, fixtures, and toilet bowls. Once that buildup hardens, routine cleaning takes more time and more scrubbing.
A vinegar-and-Dawn mixture is commonly used because each ingredient addresses a different part of the problem. White vinegar helps dissolve mineral deposits left behind by hard water, while dish soap cuts through body oils and soap film. Used correctly, the combination can loosen common shower buildup effectively on many standard bathroom surfaces.
This article explains how to clean shower surfaces, descale a shower head, use baking soda where extra scrubbing power is needed, and clean a toilet with vinegar and baking soda. It also covers where these methods work well, where they should be avoided, and when cleaning is no longer enough and repair becomes the real solution.
Understanding Key Considerations Before You Begin
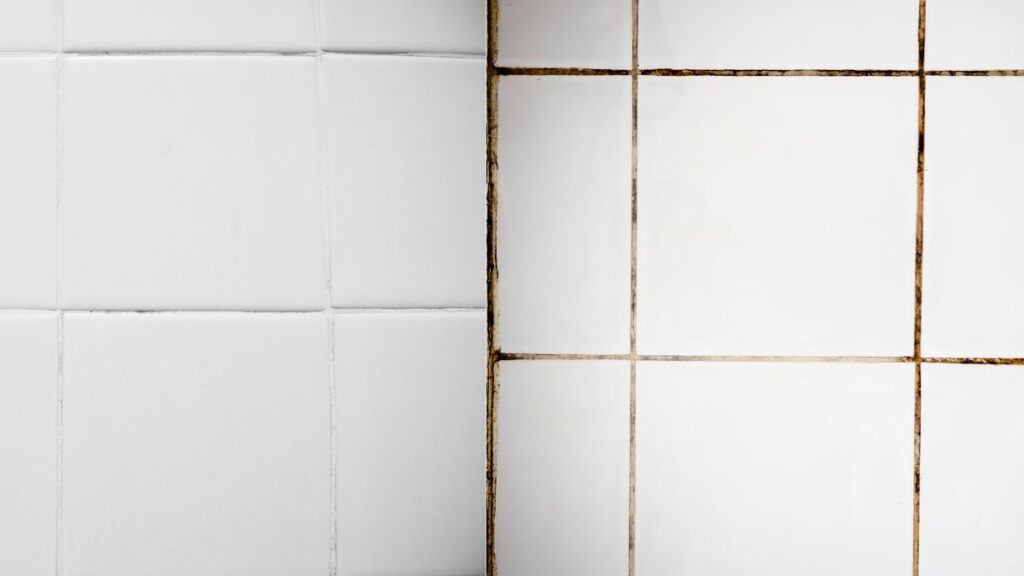
Before starting, it helps to identify what you are actually trying to remove. Soap scum is not just leftover soap. It forms when soap reacts with minerals in water and combines with body oils, leaving behind a dull film that clings to glass, tile, tubs, and metal fixtures. Hard water deposits are different. They are mineral residues, usually calcium and magnesium, that remain after water evaporates and often appear as chalky white spots or crusty buildup.
That distinction matters because vinegar is especially effective on mineral scale, while dish soap is more useful on oily residue and soap film. Together, they handle the two most common sources of shower grime. This is why the mixture often works better than plain soap and water for routine bathroom maintenance.
Even so, vinegar is not appropriate for every surface. It should not be used on natural stone such as marble, travertine, or limestone because acid can etch the finish and permanently dull the surface. Repeated use on older grout or worn caulk can also contribute to gradual deterioration. If your bathroom includes stone tile or specialty finishes, check the manufacturer care guidance before using an acidic cleaner.
It is also important to separate cleaning issues from repair issues. A vinegar-based cleaning method can remove light mineral buildup, soap scum, and some surface staining. It will not fix cracked grout, failing caulk, hidden leaks, or moisture damage behind the wall. If those conditions are present, cleaning may improve appearance temporarily, but it will not resolve the actual problem.
Tools and Supplies for the Cleaning Process
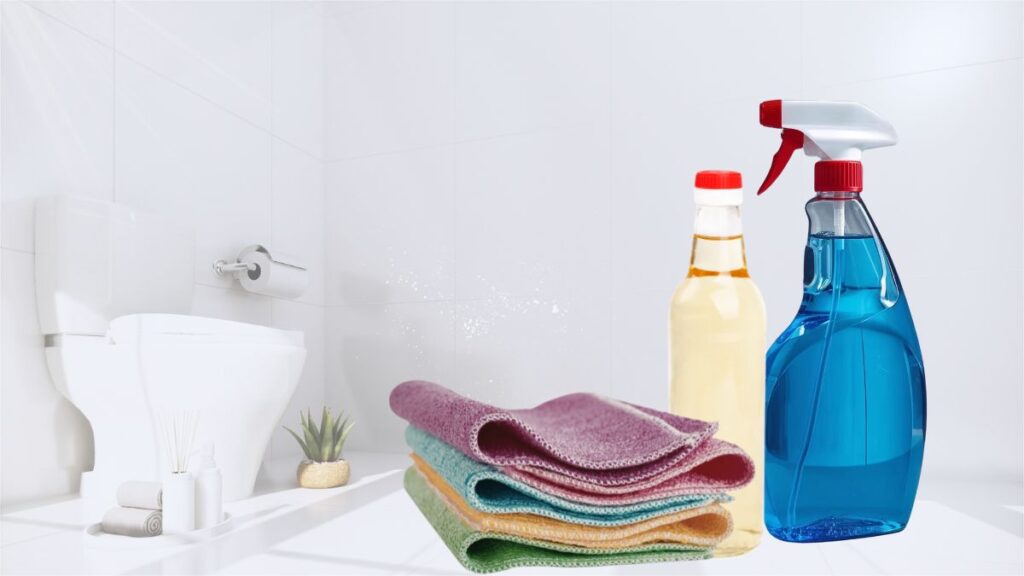
Most of the materials needed for this job are basic household items. White distilled vinegar is the main descaling ingredient, and Dawn dish soap helps loosen oily residue and soap film. A spray bottle makes it easier to apply the solution evenly to vertical surfaces such as shower walls and glass doors.
You will also need microfiber cloths, which are useful for wiping surfaces clean without scratching them, and a non-scratch sponge or soft brush for loosening buildup. An old toothbrush or grout brush helps clean corners, grout joints, and tight areas around fixtures where residue tends to collect.
Baking soda is helpful for stubborn spots because it adds mild abrasion without the aggressiveness of harsher scouring products. For cleaning a shower head with vinegar, a plastic bag and rubber band allow the fixture to soak without removing it. If you plan to clean the toilet at the same time, keep a toilet brush ready for scrubbing the bowl after the vinegar and baking soda have had time to work.
Optional but useful items include cleaning gloves, a squeegee for glass doors, and a plastic scraper for thick soap residue on glass or acrylic. Avoid steel wool or abrasive pads, which can scratch fiberglass, acrylic, and many decorative fixture finishes.
How to Clean a Shower Using Vinegar and Dawn
Step 1: Mix and Prepare the Cleaning Solution
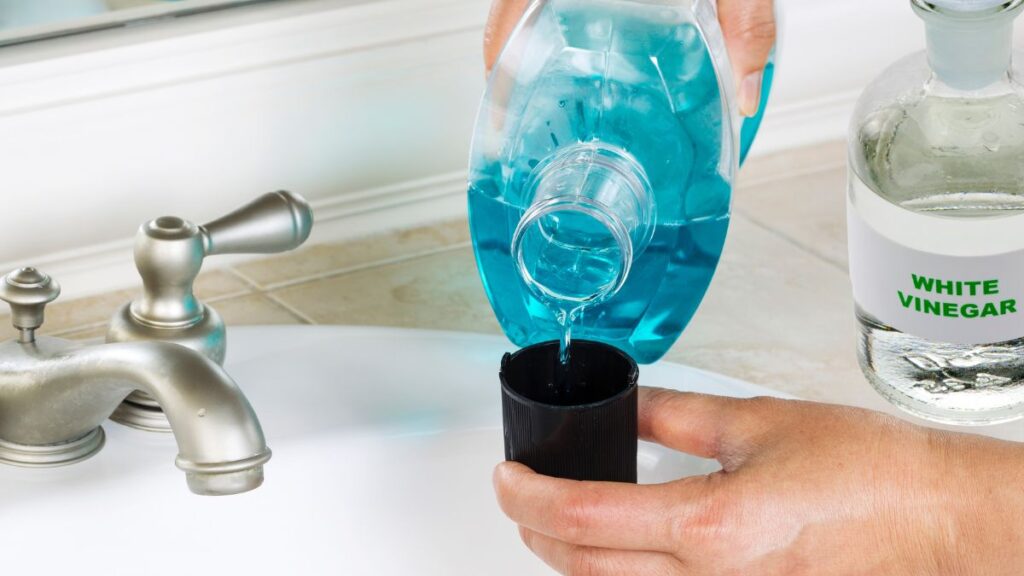
Start by mixing equal parts white vinegar and Dawn dish soap in a spray bottle. Some homeowners warm the vinegar slightly first because mild heat can help the solution cut through greasy film more effectively. The vinegar should be warm, not hot enough to create pressure in the bottle or make handling unsafe.
Once the ingredients are combined, shake the bottle gently to mix them without creating too much foam. Before applying the solution throughout the shower, test it on a small, less visible area. This is a sensible step if you have coated glass, specialty metal finishes, or surfaces you have not cleaned with vinegar before.
Next, remove loose debris such as hair, dust, or bits of soap from the shower floor, drain cover, corners, and ledges. This keeps the cleaning solution in direct contact with the residue you want to remove instead of mixing with loose debris and spreading it around.
Step 2: Remove Soap Scum and Mineral Buildup From Shower Surfaces
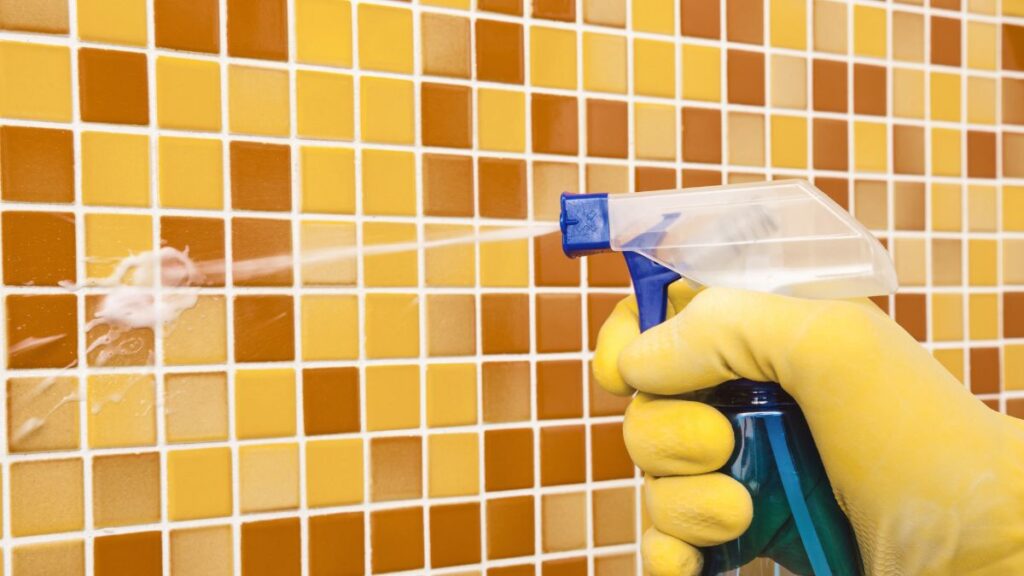
Spray the vinegar-and-Dawn mixture generously onto shower walls, glass doors, fixtures, and the tub or shower pan. Focus on areas where residue is visible, especially lower wall sections, door edges, corners, and around handles where soap scum tends to build up fastest. Let the solution sit for about 10 to 20 minutes so it has time to loosen the deposits.
This waiting period is one of the most important parts of the process. Homeowners often spray and wipe too soon, then assume the mixture does not work. In reality, the solution needs dwell time to soften the film and dissolve mineral residue before scrubbing begins.
After the surface has soaked, scrub it with a non-scratch sponge or soft brush. Use a toothbrush or grout brush for corners, grout joints, and edges around the drain or trim. On fiberglass and acrylic, use light pressure to avoid scratching. On ceramic tile and porcelain, a little more pressure is usually acceptable, but the goal is still to lift residue rather than grind into the finish.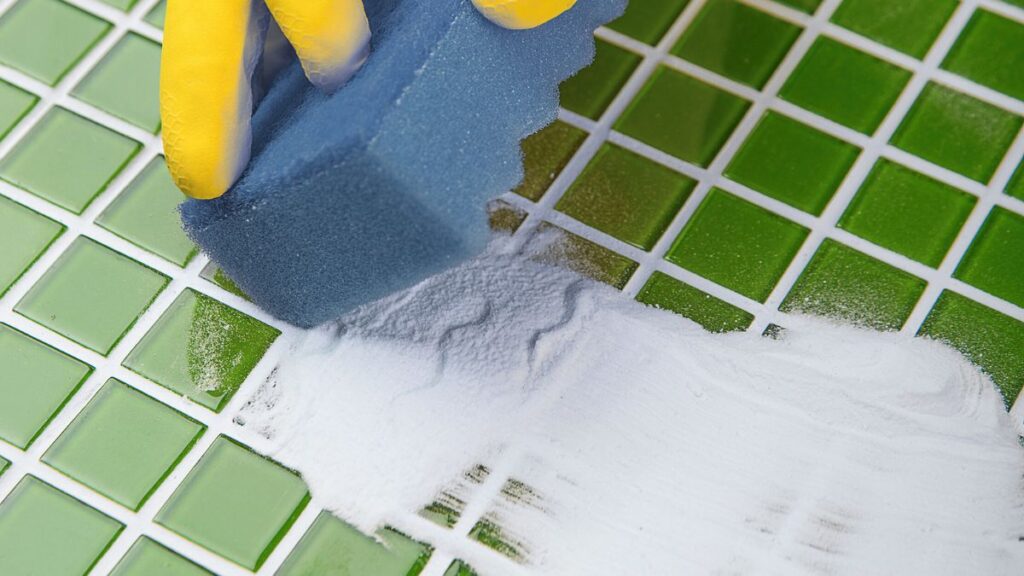
If stubborn buildup remains, apply a small amount of baking soda to the sponge or directly to the problem area. This can help remove thicker soap scum, especially on textured shower floors or along grout lines. Once the residue is gone, rinse everything thoroughly with warm water. Finish by wiping the surfaces dry with a microfiber cloth to reduce streaks and prevent loosened residue from drying back onto the surface.
Step 3: Clean the Shower Head, Fixtures, and Toilet
Once the main shower surfaces are clean, move to the fixtures. Cleaning the shower head with vinegar is especially useful in homes with hard water because mineral deposits often clog the small spray openings. Over time, that buildup can reduce pressure, distort the spray pattern, or cause water to come out unevenly.
Fill a plastic bag with white vinegar and secure it around the shower head with a rubber band so the spray face is submerged. Let it soak for 30 to 60 minutes. After soaking, remove the bag and run hot water through the fixture for a minute or two to flush out loosened debris. If a few spray holes remain blocked, clear them carefully with a toothbrush or toothpick.
For areas that still show buildup, cleaning the shower with baking soda and vinegar can provide a little more scrubbing power. Sprinkle baking soda onto the affected area, then lightly apply vinegar. The fizzing is not what does most of the cleaning, but it can help loosen debris in textured surfaces and corners. Scrub gently and rinse well so no gritty residue remains behind.
If the toilet also has light stains or odor, cleaning the toilet with vinegar and baking soda can be done during the same bathroom session. Pour about one cup of vinegar into the bowl and let it sit for several minutes. Add baking soda, scrub the bowl thoroughly with a toilet brush, and flush. This works well for mild residue and deodorizing, but heavy mineral rings may need repeated treatment or a stronger descaling product.
Frequent Shower Cleaning Mistakes to Avoid
One of the most common mistakes is using vinegar on the wrong material. Natural stone is the clearest example, but even some specialty-coated surfaces can be damaged by repeated acidic cleaning. When the material is uncertain, identifying it first is better than assuming the cleaner is safe.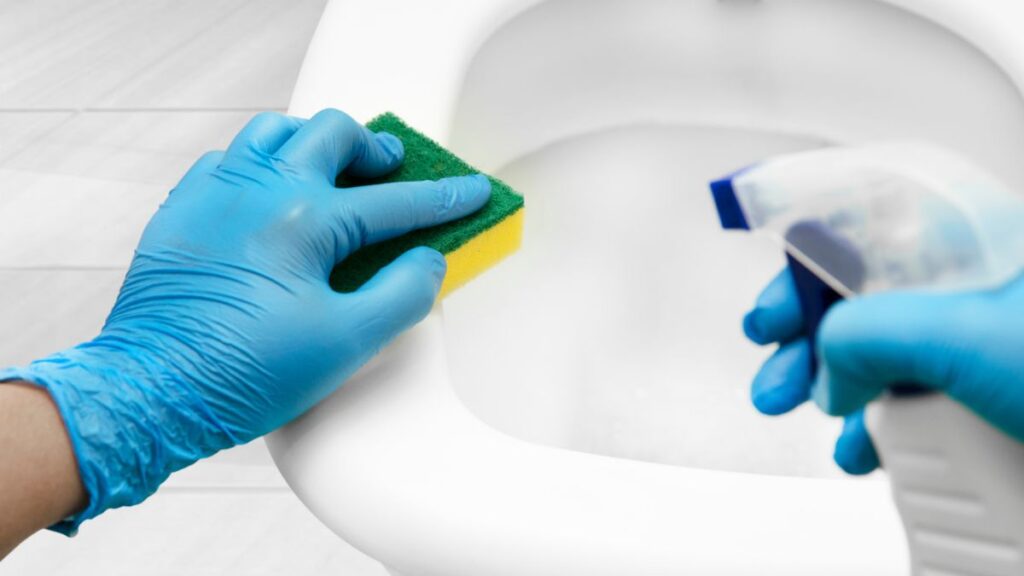
Another mistake is rushing the process. Spray-on, wipe-off cleaning sounds efficient, but it often leaves behind the deposits that require time to break down. Dwell time is what makes the vinegar-and-soap method practical for real buildup rather than just surface dust.
Using aggressive scrubbers is another avoidable problem. Steel wool and harsh scouring pads can scratch glass, acrylic, fiberglass, and metal finishes. Once scratched, those surfaces often trap more residue and become harder to keep clean. The same principle applies to overusing baking soda. A small amount can help with stubborn spots, but too much can leave gritty residue in corners, grout joints, and drains.
Mixing cleaners without understanding the risks is also a serious mistake. Vinegar should never be combined with bleach or chlorine-based cleaners. If a bleach product was used earlier, the area should be rinsed thoroughly before a vinegar cleaner is applied. Finally, long gaps between cleanings make every future cleaning more difficult because soap scum and mineral deposits have time to harden and layer over one another.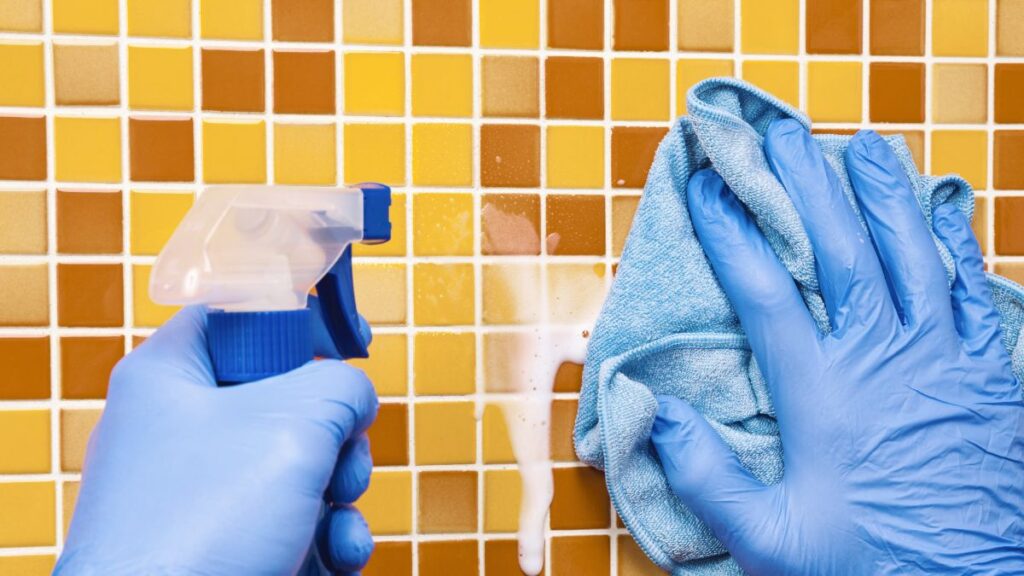
Bathroom Cleaning Safety and Maintenance Considerations
Even simple household cleaning should be approached carefully. Keep the bathroom ventilated by running the exhaust fan or opening a window where possible. Good airflow helps control fumes, reduces moisture, and supports faster drying after cleaning. In U.S. homes, bathrooms are generally expected to have either a window or mechanical ventilation for this reason.
Never mix vinegar with bleach, ammonia-based cleaners, or unknown leftover chemicals already on the surface. Chemical incompatibility is a real safety concern, not just a label warning. If another cleaner was recently used in the shower or toilet, rinse thoroughly before switching products.
Slip risk is another practical concern. Soap residue, wet tile, and cleaning solution can make the tub or shower floor slick. Work carefully, keep your footing stable, and rinse the floor completely when finished. Gloves are a good idea if you clean frequently or have sensitive skin.
Take care around lighting, outlets, and other electrical components near the bathroom sink or shower area. Avoid spraying liquid directly onto switches, outlets, or fixtures. Also keep in mind that some glass doors and plumbing fixtures have factory-applied coatings or finish protections. Repeated use of acidic cleaners outside the manufacturer recommendations can shorten the life of those finishes or void warranty coverage.
For rental properties, routine bathroom cleaning also connects to broader maintenance responsibilities. Sanitary, functional bathrooms are part of habitability expectations in most jurisdictions. Regular cleaning will not replace proper repairs, but it does help protect fixtures, slow surface deterioration, and make developing maintenance issues easier to spot early.
Frequently Asked Questions
Can vinegar damage grout in a shower?
Occasional use on standard grout is generally acceptable, especially when the area is rinsed well afterward. The concern is repeated exposure over time, particularly on older or poorly sealed grout. If grout is already soft, cracked, or missing in places, cleaning should not be the focus. Repair is the more appropriate next step.
How long should vinegar remain on shower surfaces?
For typical soap scum and hard water residue, 10 to 20 minutes is usually enough. Heavier deposits may need a second application or more targeted scrubbing. Leaving vinegar on much longer is not always better, especially on materials that are sensitive to acid exposure.
Is it safe to combine Dawn and vinegar for shower cleaning?
Yes, this is a common household cleaning combination for standard shower surfaces such as ceramic tile, fiberglass, glass, and chrome. It works because the dish soap helps dissolve oily residue while the vinegar addresses mineral scale. The solution is still surface-dependent, so it should not be used on natural stone.
What is the best way to remove hard water stains in a shower?
For light to moderate buildup, vinegar is often enough to dissolve the mineral deposits. The key is allowing time for the acid to work before scrubbing. If the buildup is thick, crusted, or deeply layered, a stronger descaling product or fixture replacement may be more realistic than repeated household cleaning attempts.
Why might a shower head remain clogged after soaking in vinegar?
If soaking does not restore normal flow, the mineral deposits may be packed deeper inside the fixture, or sediment may be present in the internal screen or flow restrictor. In some cases, the problem is not the shower head alone but debris farther back in the plumbing system. That is when a plumber may be needed.
Practical Maintenance Advice and When Professional Help May Be Needed
Routine upkeep is what makes this method most effective. A shower that is wiped down regularly and cleaned every week or two is usually much easier to maintain than one cleaned only when buildup becomes obvious. Using a squeegee after showers, drying fixtures, and addressing spots early can significantly reduce future scrubbing time.
Cleaning the shower head periodically also helps preserve water flow and spray quality, especially in hard water areas. For many households, a quick vinegar soak every few months is enough to prevent severe blockage. The same general principle applies to the toilet and shower walls. Light, regular cleaning is more efficient than infrequent deep cleaning after buildup has hardened.
Still, there is a clear line between cleaning and repair. If grout is cracked, caulk is separating, mold keeps returning from the same area, or water stains suggest a leak behind the wall, the issue has moved beyond surface maintenance. A tile contractor, plumber, or other qualified professional may be needed to inspect the assembly and correct the source of the problem.
Professional help is also appropriate when shower valves leak, fixtures are badly corroded, the shower head remains clogged after cleaning, or mineral buildup appears to be affecting plumbing performance. In those cases, cleaning may improve appearance temporarily, but it will not address worn parts, failing seals, or hidden moisture damage. Good bathroom maintenance includes knowing when cleaning is enough and when repair is the more responsible solution.