Intro
Relaminating a countertop with rounded edges is possible, but it is not the same as laminating a square-edge surface. Most rounded edges are factory postformed, meaning the laminate was heated and wrapped under pressure in a controlled setting. On site, you are bonding laminate at room temperature using contact cement. That difference explains why curved edges are the most common failure point.
This guide is written for homeowners, capable DIYers, investors updating rental properties, and contractor-aware consumers who want a realistic assessment. If the substrate is flat, dry, and structurally sound, relaminating can extend service life. If the core is swollen, sagging, or delaminated, replacement is the better decision.
The sections below explain how to evaluate the countertop, choose the correct approach for the rounded edge, and install laminate in a way that minimizes long-term failure.
Key Considerations Before You Begin
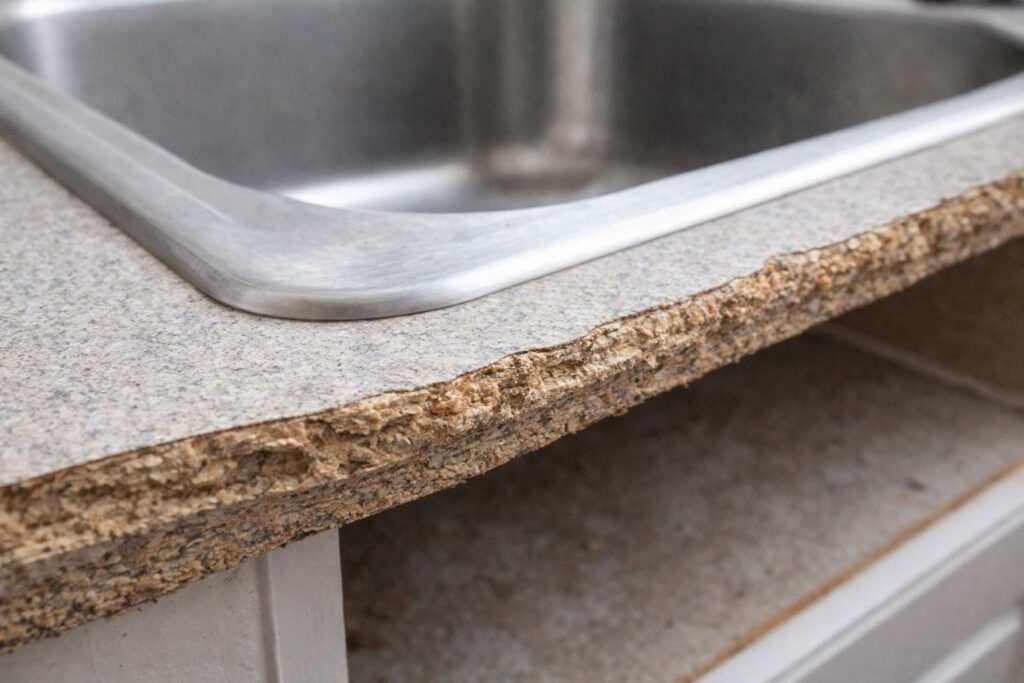
Start with the substrate. Most laminate countertops are built on particleboard. Around sink cutouts, check for swelling by running a straightedge across the surface. Even 1/16 to 1/8 inch of localized swelling near the front edge can prevent proper bonding at the curve. Press firmly along exposed edges. If the material compresses or flakes, the core has deteriorated.
Look for sagging between cabinet boxes. Place a level or straightedge front to back and side to side. A dip greater than about 1/8 inch across a typical 24-inch depth suggests structural movement. Laminate will conform to that sag and may eventually crack along the radius.
Relaminating over existing laminate is acceptable only if the old layer is fully bonded. Tap across the surface and listen for hollow sounds. Any loose sections must be removed. Sanding alone will not correct poor adhesion.
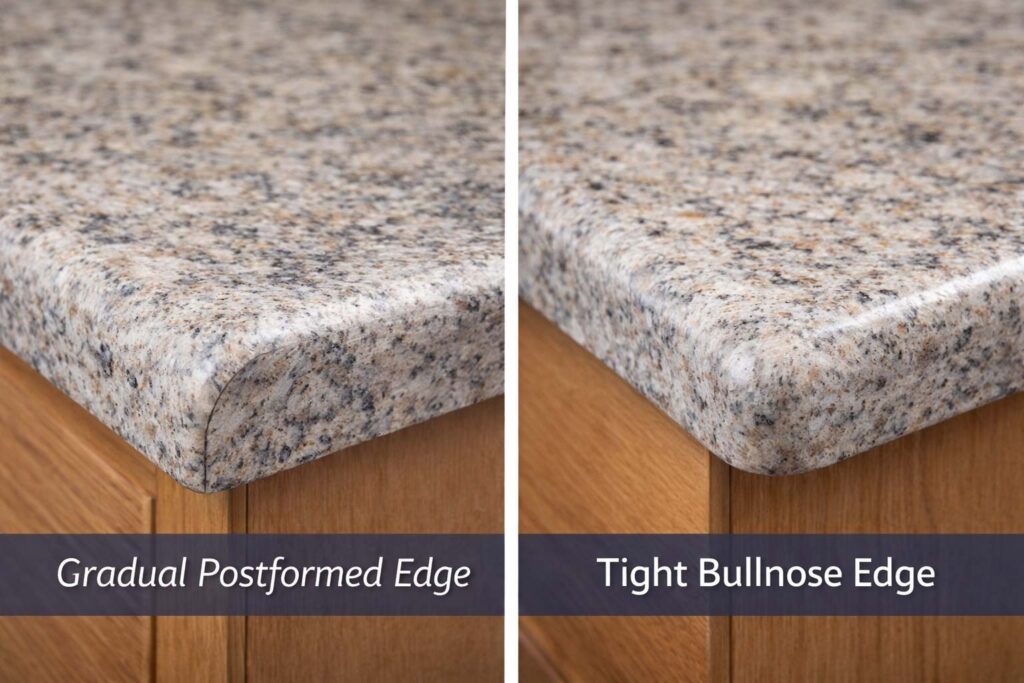
The edge profile determines your installation method. Gradual postformed edges can sometimes accept a full wrap if the laminate is flexible enough. Tight bullnose profiles increase stress at the bond line. In those cases, applying a separate edge strip first and then laminating the top reduces tension at the curve and improves durability.
Finally, evaluate overhang support. There is no single national code dimension for unsupported overhangs. Support requirements depend on material thickness and cabinet construction. As a practical rule, longer overhangs often require brackets or corbels. If the front edge already flexes under pressure, reinforce it before laminating.
Required Tools and Materials
For a minimum DIY setup, you need a router with a sharp flush-trim bit, a J-roller, a random orbital sander, and accurate measuring tools. A laminate trimmer with a bearing-guided bit gives better control along curved edges than a full-size router, especially for less experienced users.

Use a sharp, carbide-tipped flush-trim bit. Dull bits increase the risk of chipping along the edge. Feed the router in the correct direction so the bit rotation pulls into the laminate rather than lifting it.
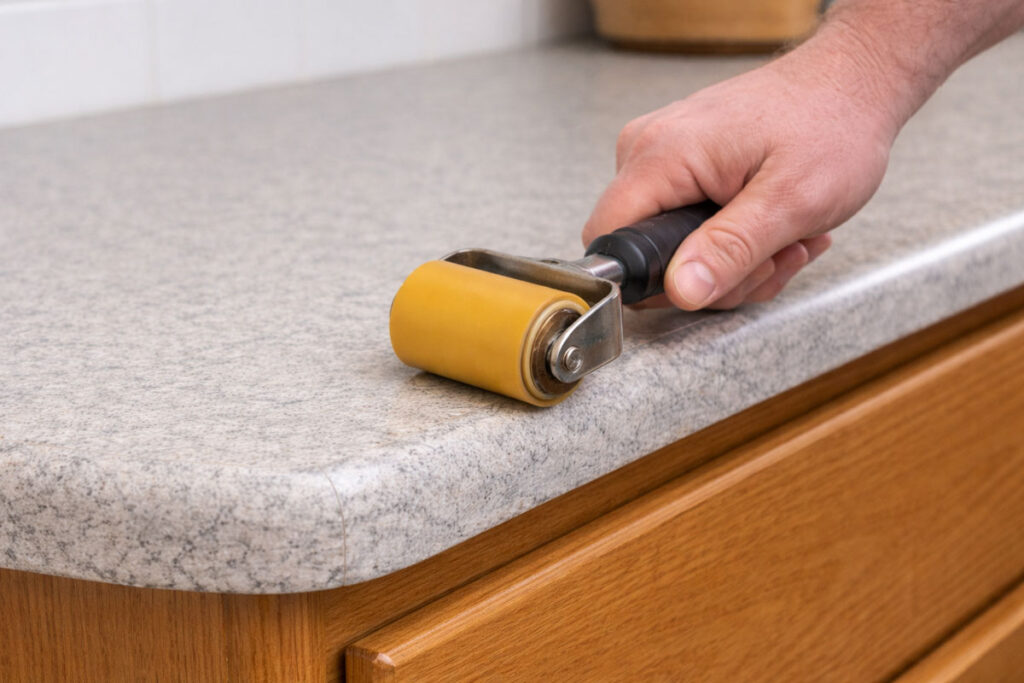
A J-roller is not optional. Consistent rolling pressure activates contact cement and ensures full bond. Inadequate pressure at the curved edge is a primary cause of lifting months later.
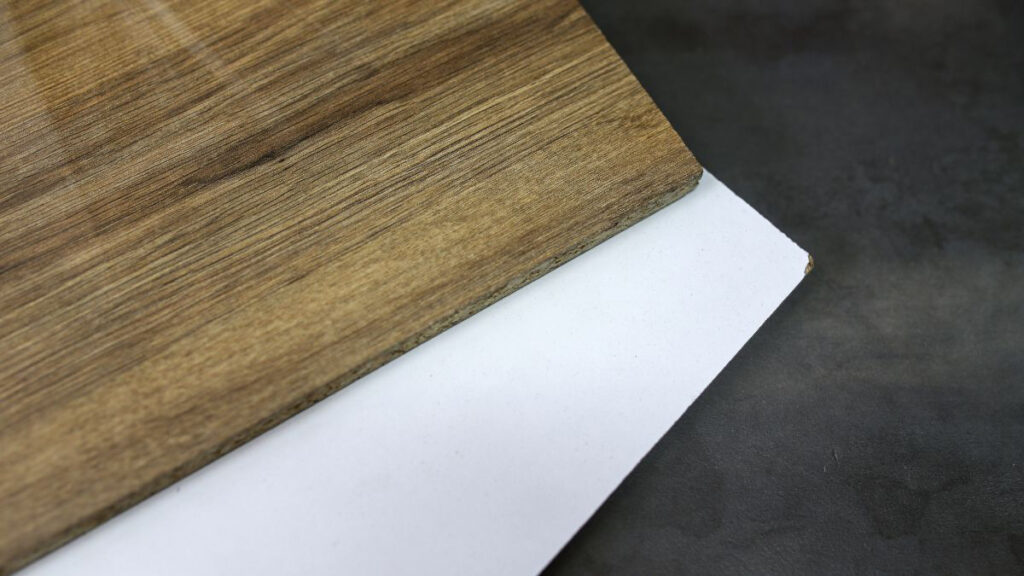
Select high-pressure laminate rated for horizontal use. Confirm the manufacturer’s minimum bend radius. If the countertop radius is tighter than the laminate’s rating, do not force it. Use the two-piece method instead.
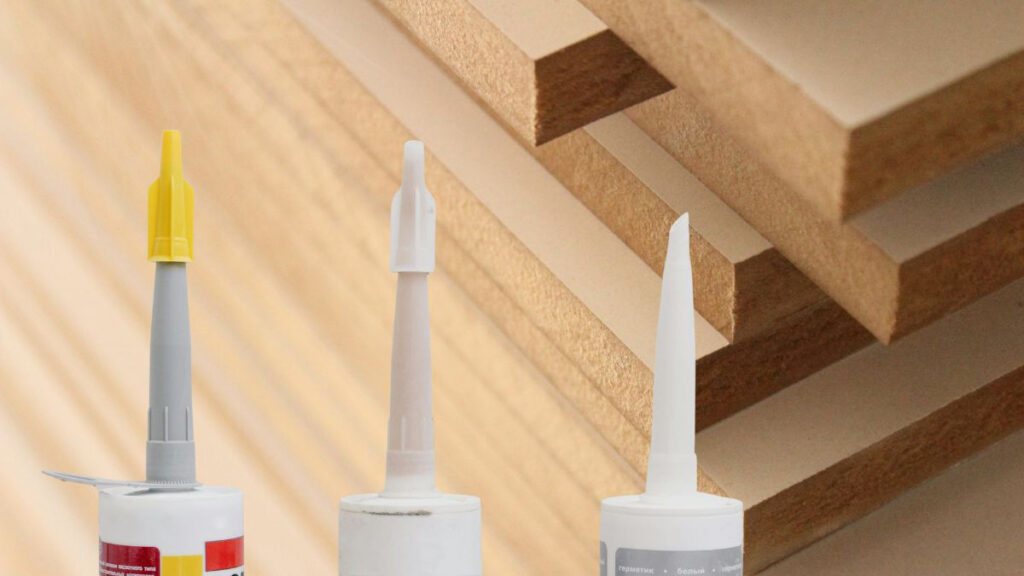
For adhesive, use contact cement designed for laminate installation. Follow the coverage rate precisely. Over-application can create soft spots. Under-application leads to dry areas that fail under stress.
Keep waterproof sealant on hand for all exposed core edges at sink and appliance cutouts.
Installation Process Step by Step
Step 1 – Inspect, Repair, and Prepare the Existing Surface
Remove the sink and cooktop completely. Do not laminate around fixtures. Disconnect power and water safely before removal.
If any laminate sections are loose, remove them down to the substrate. Feather sand transition areas smooth. Relaminating over partially detached laminate traps instability beneath the new surface.
Sand the entire surface, including the rounded edge, with 80 to 120 grit paper to eliminate gloss. You are creating mechanical adhesion, not removing thickness.
Vacuum thoroughly and wipe with a clean, lint-free cloth. Adhesive bonds only to clean surfaces. Dust or grease can create localized bond failures that appear later as edge lifting.
If the front edge feels sharp or uneven, ease it slightly with light sanding. A small eased transition reduces stress concentration at the laminate bend.
Seal any exposed particleboard with a compatible sealer before laminating, especially near the sink cutout.
Step 2 – Measure, Cut, and Dry-Fit the Laminate for Rounded Edges
Cut laminate oversized by at least one inch on all sides. Confirm measurements twice before cutting. Laminate cannot be patched invisibly once miscut.
Dry-fit the laminate without adhesive. Test how it conforms to the rounded edge. Do not force it into position. If you feel significant resistance, stop and switch to the edge-strip-first method.
For the two-piece method, cut and apply the edge strip first. Bond it, roll it firmly, and trim it flush. Once cured, laminate the top surface. This sequence reduces bending stress and produces a more stable edge.
If seams are required, position them away from sink cutouts and high-moisture areas. Test-fit seams dry and ensure both surfaces are flat. Poor seam alignment will remain visible permanently.
Protect adjacent finished cabinet faces with tape or protective sheeting before trimming.
Step 3 – Apply Contact Cement and Bond the Laminate Properly
Apply contact cement evenly to both surfaces using the manufacturer’s recommended spread rate. Uneven adhesive thickness creates inconsistent bonding.
Allow proper flash time. The adhesive should feel dry to the touch but aggressively tacky. Contact cement forms an instant bond upon contact. There is no repositioning window. Misalignment usually requires removal and replacement of the sheet.
Place dowels across the countertop to act as spacers. Position the laminate carefully, verify alignment, and then remove dowels one at a time while pressing the laminate down progressively.
Immediately roll the entire surface with a J-roller using firm, overlapping passes. Apply additional pressure along the rounded edge and any seam areas. Consistent pressure ensures adhesive transfer and long-term bond strength.
Trim excess laminate using a sharp flush-trim bit. Feed in the proper direction to prevent chip-out. Finish edges with a mill file angled downward at roughly 45 degrees to avoid lifting the laminate edge.
Before reinstalling the sink, apply waterproof sealant to all exposed particleboard at the cutout. Water intrusion at this location is the leading cause of laminate countertop failure.
Allow full adhesive cure per manufacturer instructions before subjecting the countertop to heavy use.
Installation Errors That Commonly Lead to Failure
Installing over swollen particleboard is the most frequent mistake. Even minor swelling near the front edge prevents proper bonding at the curve and often results in cracking.
Skipping sanding reduces adhesion strength. Glossy laminate does not provide sufficient mechanical grip for contact cement.
Joining surfaces before proper flash time traps solvent and weakens the bond. This often presents later as bubbling or edge lifting.
Forcing laminate around a radius tighter than its rating creates internal stress. Hairline cracks may appear months later under normal use.
Failing to roll with sufficient pressure leaves unbonded areas. These may not be visible immediately but can separate with cleaning or minor impact.
Neglecting to seal sink cutouts allows moisture to reach the substrate. Over time, this leads to swelling and delamination.
Safety Practices and Code-Related Factors to Keep in Mind
Solvent-based contact cement emits flammable vapors. Ensure cross-ventilation and remove ignition sources, including pilot lights. Use respiratory protection if ventilation is limited.
Disconnect electrical circuits before removing cooktops. Kitchen countertop receptacles must remain GFCI-protected. If modifying a backsplash, maintain required outlet spacing in accordance with electrical code.
Maintain manufacturer-required clearances around cooktops. Laminate is combustible and can discolor or delaminate if exposed to excessive heat.
Overhang support must align with cabinet construction and material thickness. If the edge flexes when pressed downward, add support brackets before laminating. Structural deficiencies should be corrected prior to cosmetic updates.
Moisture protection is critical. Properly sealed sink edges and dishwasher areas significantly extend countertop life.
Frequently Asked Questions
Can you laminate over existing laminate countertops with rounded edges?
Yes, if the existing laminate is flat, fully bonded, and the substrate beneath it is dry and structurally sound. Loose or swollen areas must be removed or replaced.
How do you bend laminate around a curved edge?
Use laminate rated for the required bend radius. For tighter curves, install a separate edge strip first to reduce stress at the bond line.
Do you need special laminate for postformed edges?
You need horizontal-grade laminate with sufficient flexibility. Confirm minimum bend radius in manufacturer specifications.
How long will a relaminated countertop last?
If installed over sound substrate and properly sealed, a relaminated countertop can perform for many years. Longevity depends primarily on moisture control and edge protection rather than the laminate surface alone.
Is it cheaper to relaminate or replace countertops?
Relaminating lowers material cost but requires careful labor. If the substrate is damaged, replacement often provides better long-term value.
Practical Closing Advice and Signs It’s Time to Hire a Professional
Relaminate if the countertop structure is stable, the edge radius is manageable, and moisture damage is absent. This approach can extend service life and improve appearance without cabinet replacement.
Hire a professional if you find substrate swelling, sagging spans, integrated curved backsplashes, tight bullnose edges, or long visible seams. These conditions require tools and fabrication methods beyond typical DIY capability.
For investment properties, balance cosmetic improvement against durability. A properly executed relaminate can perform well, but it does not change the structural limitations of the original countertop.
Before returning the countertop to service, confirm full adhesive cure, sealed cutouts, stable overhang support, and cleanly finished edges. Long-term performance depends on preparation, correct adhesive technique, and moisture protection at vulnerable areas.