 Introduction
 Introduction
If you are dealing with excess humidity, fogged mirrors, or lingering odors, this guide to fixing bathroom exhaust fan issues is designed for you. It is written for homeowners, DIYers, and property investors who want practical, reliable results without unnecessary guesswork.
A properly functioning exhaust fan removes moisture, protects finishes, and helps prevent mold. When performance drops, the cause is often straightforward. In many cases, poor airflow results from dust buildup, a blocked bathroom exhaust fan duct, or a worn motor rather than a complete system failure.
The most effective approach is to start with a thorough cleaning, then inspect the duct and electrical components. Many fans can be restored with basic tools and a methodical process.
Key Information Before You Begin
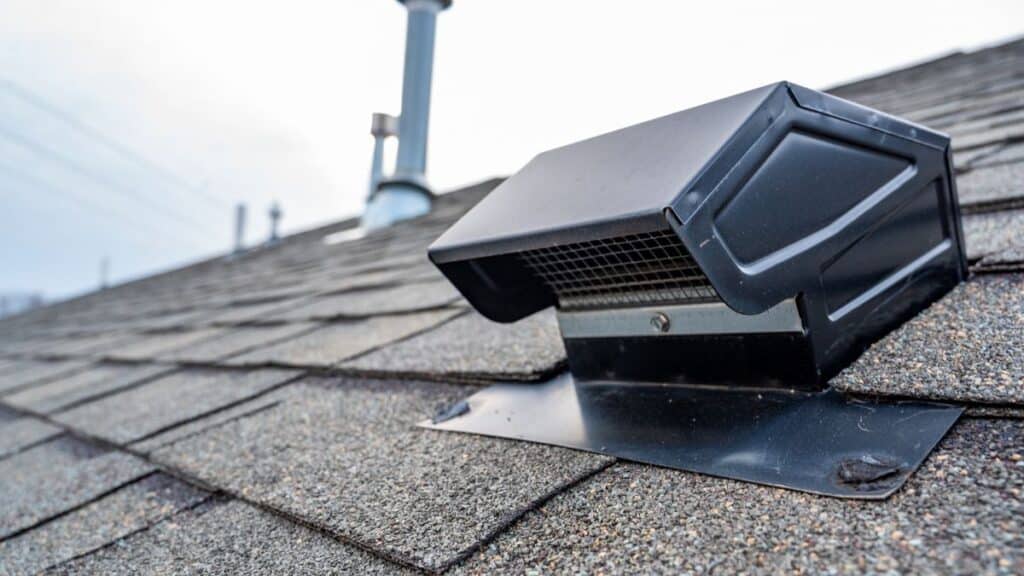
A bathroom exhaust fan system consists of three primary components: the fan unit, the duct, and the exterior vent. The fan pulls moist air into the housing, pushes it through the duct, and expels it outdoors. If any part is restricted, overall performance declines.
Before beginning, identify whether the issue is related to airflow or mechanical failure. For example, a loud humming sound often indicates a failing motor, while weak airflow typically points to dust buildup or a blocked duct.
It is also important to understand that duct issues are frequently overlooked. A disconnected or crushed duct in the attic can prevent proper ventilation even if the fan appears to run normally.
Most cleaning and inspection tasks can be completed within one to two hours. If attic access is required, allow additional time and ensure safe working conditions.
Tools and Materials Required
Basic tools are sufficient for most repairs. A screwdriver or drill is needed to remove the fan cover and access internal components. A voltage tester is essential to confirm power is off before handling any wiring.
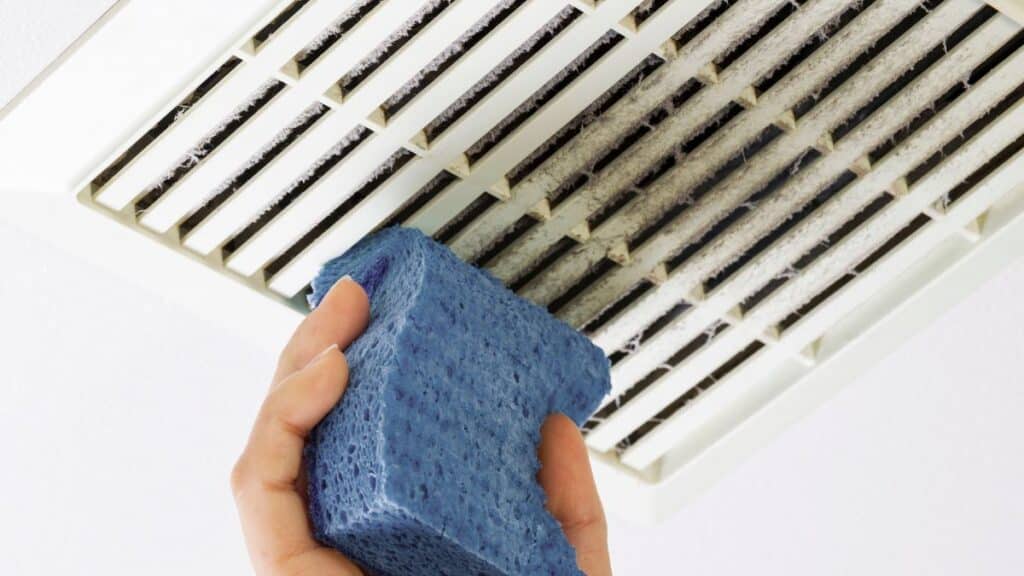
For cleaning, use a vacuum with a brush attachment along with a mild detergent and cloths. Dust and debris inside the housing are often heavier than expected and require more than surface cleaning.
For repairs, keep wire connectors and foil HVAC tape available. Foil tape is designed for duct sealing and maintains adhesion over time, unlike standard duct tape which can fail.
If damaged duct sections are found, replacement flexible or rigid duct may be required. Gloves, safety glasses, and a dust mask are recommended when working in dusty or confined spaces.
How to Fix a Bathroom Exhaust Fan Step by Step
Step 1: Shut Off Power and Remove the Fan Cover
Turn off power at the breaker panel rather than relying on the wall switch. This ensures the circuit is fully de-energized. Use a voltage tester to confirm there is no active current.
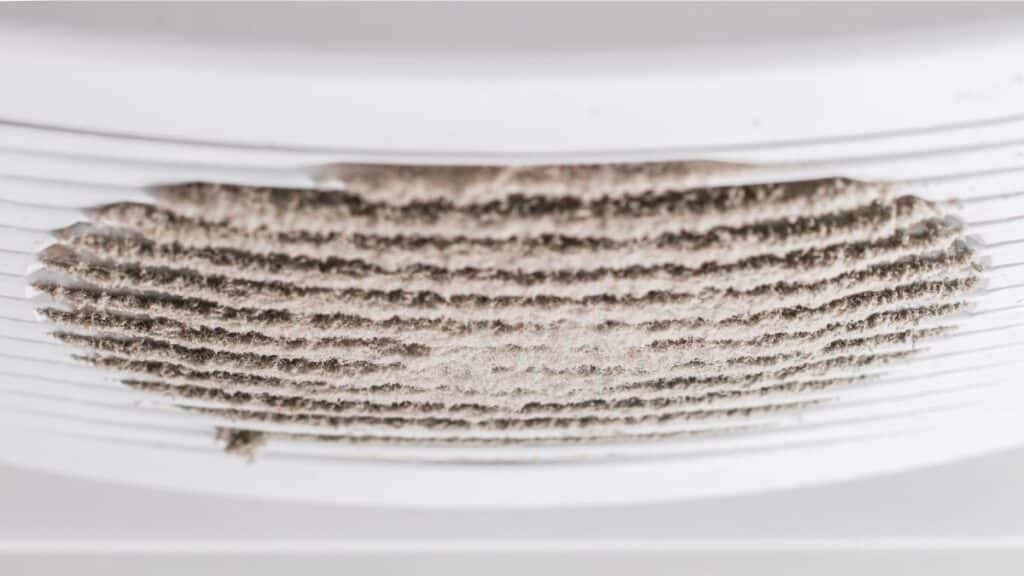
Remove the fan cover, which is typically held in place by spring clips. Lower it carefully and detach it. At this stage, inspect for visible dust buildup, which is often a primary cause of reduced performance.
Step 2: Clean the Fan Components and Housing
 Remove the fan assembly if the design allows. Many units permit the motor and fan blade to slide out after removing mounting screws.
Perform a complete exhaust fan bathroom cleaning by vacuuming loose debris and wiping down the blades, motor housing, and interior surfaces. Dust accumulation can restrict airflow and trap heat, reducing efficiency.
Even moderate buildup on fan blades can significantly reduce performance. Cleaning restores proper airflow and helps maintain balanced operation.
Step 3: Inspect and Repair the Bathroom Exhaust Fan Duct
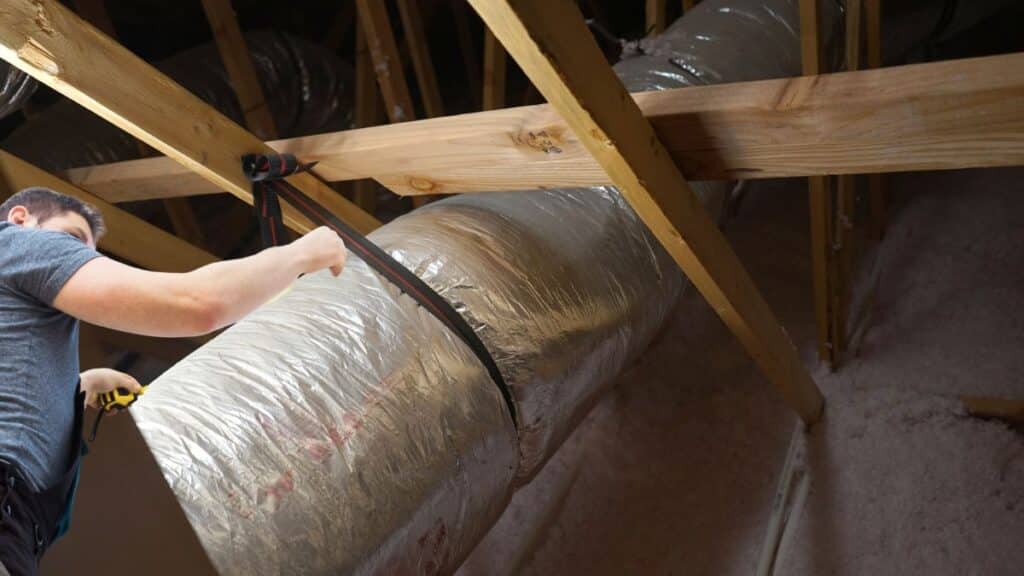 If airflow remains weak, inspect the bathroom exhaust fan duct. Access the attic or ceiling cavity if possible.
Check for disconnected joints, crushed sections, or sharp bends. Each of these conditions restricts airflow. A disconnected duct may also release moisture into the attic, leading to long-term damage.
Seal loose joints using foil HVAC tape. Replace any damaged or severely kinked duct sections. Keep duct runs as short and straight as possible to improve airflow.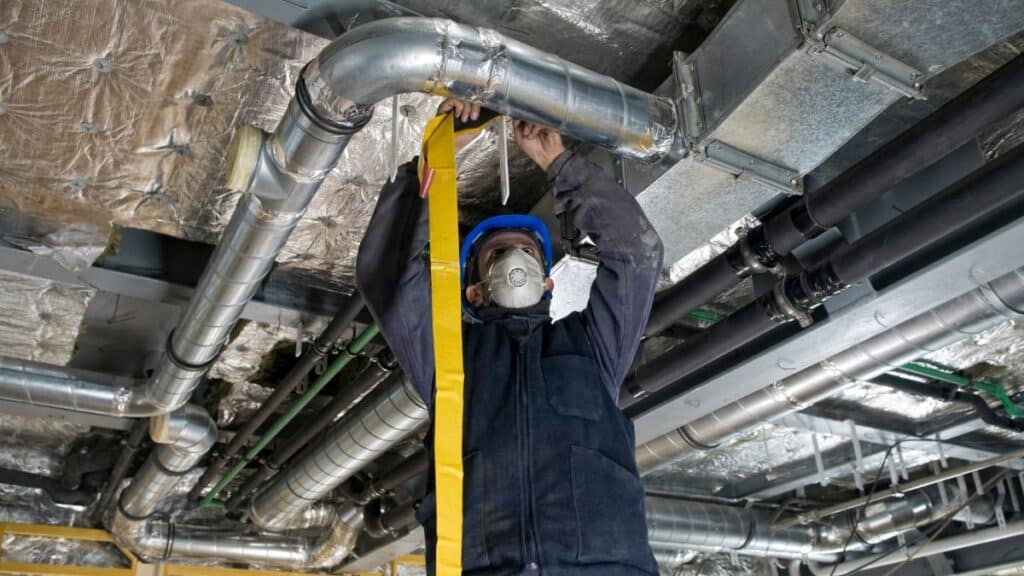
Also inspect the exterior vent. Remove any debris, lint, or obstructions that may block airflow.
Step 4: Inspect Wiring and Test the Motor
If the fan still does not perform properly, examine the electrical connections inside the housing. Ensure wire connections are secure and free of damage.
A humming fan that does not spin often indicates a failing motor. In many cases, the motor can be replaced without removing the entire housing, making it a practical repair option.
If there is no power at all, the issue may involve the switch or circuit wiring. This may require further electrical troubleshooting.
Step 5: Reinstall Components and Test Performance
Reassemble the fan components and reinstall the cover. Restore power at the breaker and turn the fan on.
Test airflow by holding a tissue near the grille. It should be pulled toward the fan. Also listen for unusual noise, which may indicate improper installation or remaining issues.
Finally, confirm that air is exiting through the exterior vent. This ensures the entire system is functioning correctly.
Common Errors to Avoid During Repairs
Cleaning only the visible grille is a common oversight. Most buildup occurs inside the housing and on the fan blades, where it directly affects performance.
Another frequent mistake is ignoring the duct. Even a clean fan will not function properly if the bathroom exhaust fan duct is blocked or disconnected.
Using standard duct tape instead of foil HVAC tape can lead to failed seals over time. Proper materials are necessary for durable repairs.
Skipping inspection of the exterior vent is another issue. Blockages at the termination point can significantly reduce airflow.
Working without shutting off power is a serious safety risk and should always be avoided.
Safety Guidelines and Code Considerations
Always turn off power at the breaker and verify with a voltage tester before beginning work. This reduces the risk of electrical injury.
Bathroom exhaust fans must vent to the exterior of the home. Venting into an attic or crawlspace can cause moisture buildup, mold, and structural damage.
Ducts located in unconditioned spaces should be insulated to prevent condensation. Without insulation, moisture can accumulate and drip back into the fan housing.
Use approved materials such as UL-listed fans and proper ducting. Avoid improvised solutions that may not meet safety or durability standards.
Ensure the exterior vent includes a backdraft damper to prevent outside air and pests from entering the system.
Frequently Asked Questions
Why is my bathroom exhaust fan not removing moisture?
This is usually caused by dust buildup, a blocked duct, or restricted airflow due to bends or long duct runs. Cleaning and inspection often resolve the issue.
How often should I perform exhaust fan bathroom cleaning?
Cleaning should be done every 6 to 12 months. High-use bathrooms may require more frequent maintenance.
Can I fix a noisy bathroom exhaust fan without replacing it?
Yes. Noise is often caused by dust buildup or loose components. Cleaning and tightening parts can reduce noise. If the motor is worn, replacement may be necessary.
What happens if the bathroom exhaust fan duct is blocked?
Moist air cannot exit the home, which can lead to condensation, mold growth, and damage to surrounding materials.
Is it okay to vent a bathroom fan into the attic?
No. This practice does not meet standard building requirements and can lead to moisture-related damage.
How do I know if I need to replace the entire fan?
Replacement is typically needed if the housing is damaged, the motor is not serviceable, or the unit is undersized for the space.
Final Advice and When to Hire a Professional
Most maintenance tasks, including cleaning, basic inspection, and minor duct repairs, are suitable for DIY work. Replacing a motor or sealing duct joints is also manageable with standard tools.
Professional help is recommended for electrical issues beyond basic connections, such as loss of power or repeated breaker trips. These require proper diagnosis and safe handling.
Duct rerouting, roof vent installation, and complex attic work are also better handled by experienced professionals due to structural and weatherproofing considerations.
If moisture problems persist after repairs, there may be a larger ventilation or insulation issue. Addressing it early can prevent long-term damage.
Regular maintenance, including annual cleaning and inspection, helps ensure consistent performance and extends the lifespan of the fan system.