 Introduction
 Introduction
This guide is written for homeowners, DIYers, landlords, and property investors who want a practical, reliable approach to maintaining a clean bathroom. Cleaning the bathroom tips in this article focus on using the correct process, selecting appropriate cleaners, and preventing buildup that leads to long-term damage.
The most effective method is straightforward. Work from top to bottom, match the cleaner to the surface, allow proper dwell time, and address moisture and hard water early. When done consistently, this approach improves hygiene, protects finishes, and reduces the need for costly repairs.
Key Considerations Before You Begin
Bathroom cleaning is not only about appearance. It affects sanitation, indoor air quality, and the longevity of materials. Soap scum, mineral deposits, and excess moisture can degrade surfaces if left untreated.
Surface type is critical. Porcelain and ceramic are durable, but natural stone such as marble can be damaged by acidic cleaners. Fiberglass and acrylic surfaces scratch easily if abrasive tools are used. Identifying materials before cleaning prevents permanent damage.
Hard water is a common issue in many U.S. homes. Mineral deposits build up on toilets, faucets, and shower walls, bonding to surfaces over time. This is why general cleaners may fail and a dedicated toilet bowl cleaner for hard water stains becomes necessary.
Ventilation also plays a major role. Bathrooms that remain humid after use are more prone to mold and mildew. If airflow is limited, cleaning alone will not prevent recurring issues.
Finally, distinguish between routine and deep cleaning. Weekly cleaning maintains surfaces, while periodic deep cleaning targets grout, scale, and less visible areas.
Essential Tools and Cleaning Materials
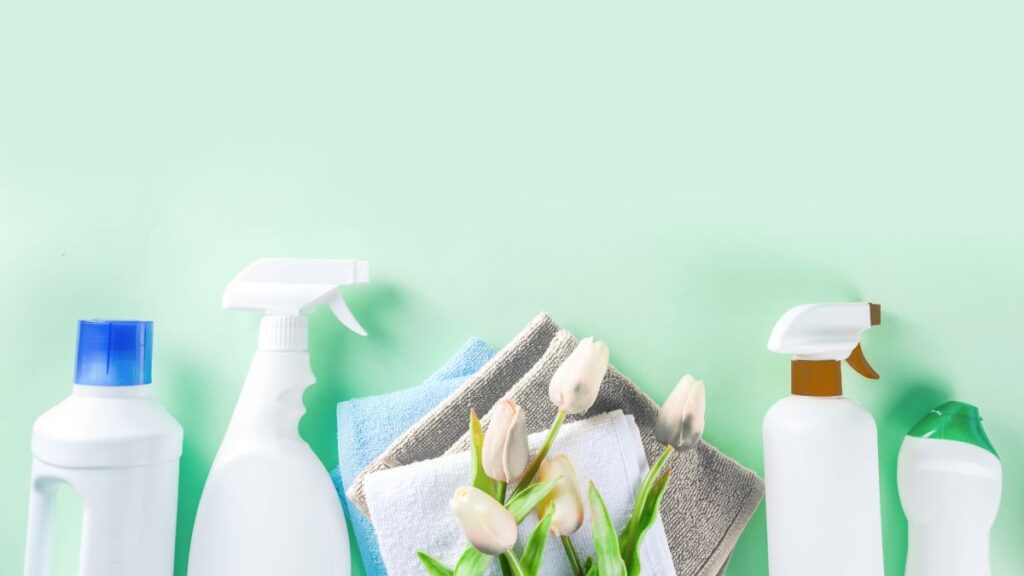
Use tools that are effective without damaging surfaces. Microfiber cloths are preferred because they trap debris without scratching. Non-scratch sponges and soft to medium brushes are suitable for most fixtures and grout lines.
Keep toilet-specific tools separate to avoid cross-contamination. Using the same sponge across multiple areas is a common but avoidable hygiene issue.
For cleaning solutions, maintain a combination of general and targeted products. An all-purpose cleaner works for routine cleaning, while non toxic bathroom cleaning options such as vinegar and baking soda can handle light buildup. However, they may not be sufficient for heavy mineral deposits or sanitation.
Disinfectants should be EPA-approved when sanitation is required, particularly in shared bathrooms or rental properties. For mineral buildup, use a toilet bowl cleaner for hard water stains designed to dissolve calcium and lime.
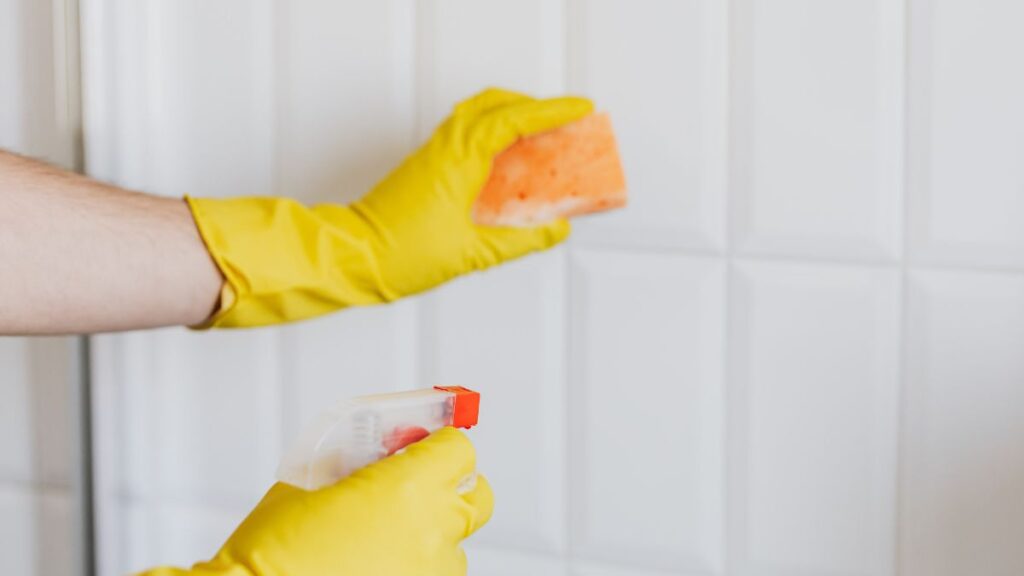
Optional tools such as steam cleaners or drill brush attachments can improve efficiency during deep cleaning. Regardless of tools used, wear gloves and consider eye protection when working with stronger chemicals.
Step-by-Step Bathroom Cleaning Process
Step 1: Clear, Prep, and Pre-Treat Surfaces

Remove all items from countertops, shower areas, and the floor to ensure full access. This prevents missed spots and avoids contaminating personal items with cleaning residue.
Start with a dry wipe to remove dust, hair, and debris. Applying liquid cleaner over loose debris reduces effectiveness and creates unnecessary mess.
Pre-treat areas with visible buildup such as soap scum, mildew, or hard water stains. Allow the cleaner to sit so it can break down deposits before scrubbing.
Ensure proper ventilation by turning on the exhaust fan or opening a window. This improves air quality and helps surfaces dry faster.
Step 2: Clean Surfaces Systematically from Top Down
Begin with mirrors and glass to avoid streaking from later splashes. Use a lint-free cloth and an appropriate cleaner based on the surface.
Move to countertops and sinks, focusing on faucet bases where mineral deposits often accumulate. Allow cleaner to sit briefly before wiping to reduce effort.
Clean shower walls and tubs using a product suited to the material. Avoid acidic cleaners on natural stone and abrasive tools on fiberglass or acrylic.
Address grout lines with a small brush. These areas trap moisture and debris, making them prone to discoloration and mold. Proper cleaning helps maintain both appearance and durability.
Non toxic bathroom cleaning methods are effective for routine maintenance, but heavier buildup may require stronger solutions.
Step 3: Clean the Toilet, Floor, and Finish Details
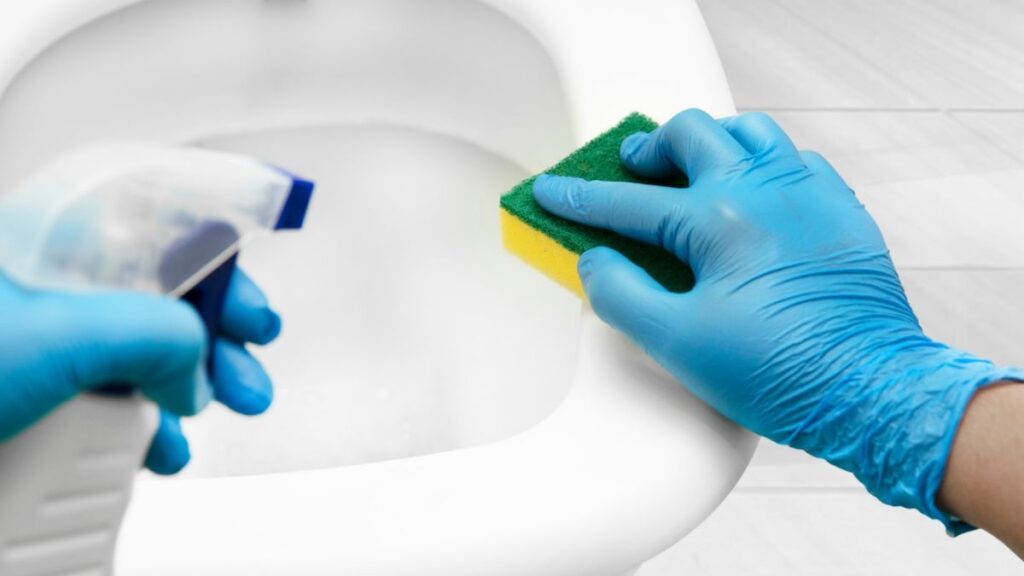
Apply toilet bowl cleaner and allow it to dwell. This is especially important when removing hard water stains, as mineral deposits require time to break down.
While the cleaner sits, clean the exterior of the toilet, including the handle, seat, and base. These are high-contact areas that require regular attention.
Scrub the bowl thoroughly, including under the rim, then flush. If stains remain, repeat the process rather than increasing scrubbing force, which can damage the surface.
Sweep or vacuum the floor before mopping to prevent spreading debris. Clean thoroughly around edges and behind fixtures where buildup often accumulates.
Finish by wiping remaining surfaces and returning items. A final inspection helps ensure consistency and completeness.
Mistakes to Watch Out for During Bathroom Cleaning
Cleaning out of order is a frequent issue. Starting with lower surfaces leads to rework when debris falls from above. A top-down approach avoids this.
Using the wrong cleaner for a surface can cause lasting damage. Acidic products can etch stone, and abrasive tools can scratch finishes that are difficult to repair.
Skipping dwell time reduces effectiveness. Cleaners need time to break down grime. Without it, more physical effort is required, increasing the risk of damage.
Mixing chemicals is unsafe. Combining products such as bleach and ammonia produces hazardous fumes. Always use one product at a time.
Neglecting grout and caulking allows moisture intrusion and mold growth. These areas require consistent attention to maintain their function as water barriers.
Ignoring hard water buildup leads to progressive scaling that becomes harder to remove. Using the correct cleaner early reduces long-term effort.
Safety Practices and Code-Related Considerations
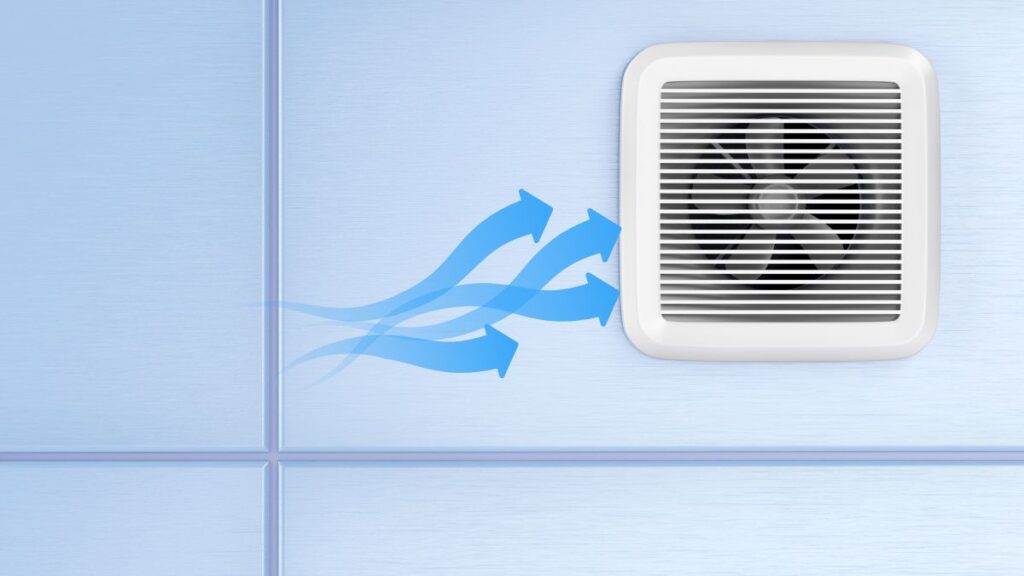
Most U.S. bathrooms are required to have proper ventilation, either through a window or an exhaust fan vented outdoors. Using this ventilation during cleaning helps control moisture and improve air quality.
Electrical safety is important in wet areas. Avoid direct contact between cleaning liquids and outlets or switches, even when GFCI protection is present.
Always follow product instructions. Labels provide guidance on safe use, dwell time, and ventilation. Ignoring them can reduce effectiveness or create hazards.
Do not mix cleaning chemicals. This is a critical safety rule due to the risk of toxic gas formation.
If your home uses a septic system, select cleaning products carefully. Some chemicals can disrupt the biological processes that keep the system functioning properly.
Wet surfaces increase slip risk. Dry floors promptly after cleaning, especially in homes with children, older adults, or rental occupants.
Frequently Asked Questions About Bathroom Cleaning
How often should you clean a bathroom?
Most bathrooms require weekly cleaning for surfaces and fixtures. High-use bathrooms may need more frequent attention.
What is the best non toxic bathroom cleaning method?
Vinegar and baking soda are effective for light cleaning and odor control. They are less effective for heavy buildup or disinfection.
How do you remove hard water stains from a toilet bowl?
Use a toilet bowl cleaner specifically designed for hard water stains. Allow sufficient dwell time before scrubbing and flushing.
Can vinegar damage bathroom surfaces?
Yes. Vinegar can damage natural stone surfaces such as marble or limestone. Always verify material compatibility.
What is the fastest way to clean a bathroom?
Preparation and sequence are key. Remove items, pre-treat stains, and clean from top to bottom to reduce rework.
How do you prevent mold and mildew in bathrooms?
Control moisture by using ventilation, fixing leaks, and drying surfaces. Cleaning alone does not prevent mold if humidity remains high.
Are store-bought cleaners better than DIY solutions?
Each has a role. DIY solutions work for routine cleaning, while commercial products are more effective for disinfection and heavy buildup.
How do you clean bathroom grout effectively?
Use a small brush with a suitable cleaner, allow dwell time, and avoid excessive scrubbing that can wear down grout.
Practical Final Advice and When to Bring in a Professional
Establish a consistent cleaning routine. Regular maintenance prevents buildup that requires stronger chemicals or more intensive labor.
Monitor for early signs of problems. Recurring stains, persistent odors, or visible mold often indicate underlying issues such as poor ventilation or hidden leaks.
Professional help is appropriate when mold returns quickly after cleaning, when hard water scaling becomes severe, or when grout and caulking have deteriorated. These conditions often require repair rather than cleaning.
If you notice water damage, slow leaks, or drainage issues, a licensed professional should evaluate the problem. Cleaning will not resolve structural or plumbing defects.
Understanding the limits of routine cleaning helps protect both the bathroom and the overall property. Proper maintenance combined with timely intervention reduces long-term costs and preserves material performance.