Introduction
This guide is for homeowners, DIY-inclined readers, property investors, and contractor-aware consumers who want to choose the best colour shades for outer walls and apply them correctly. Exterior paint affects more than appearance—it influences heat absorption, moisture resistance, maintenance cycles, neighborhood compliance, and resale value.
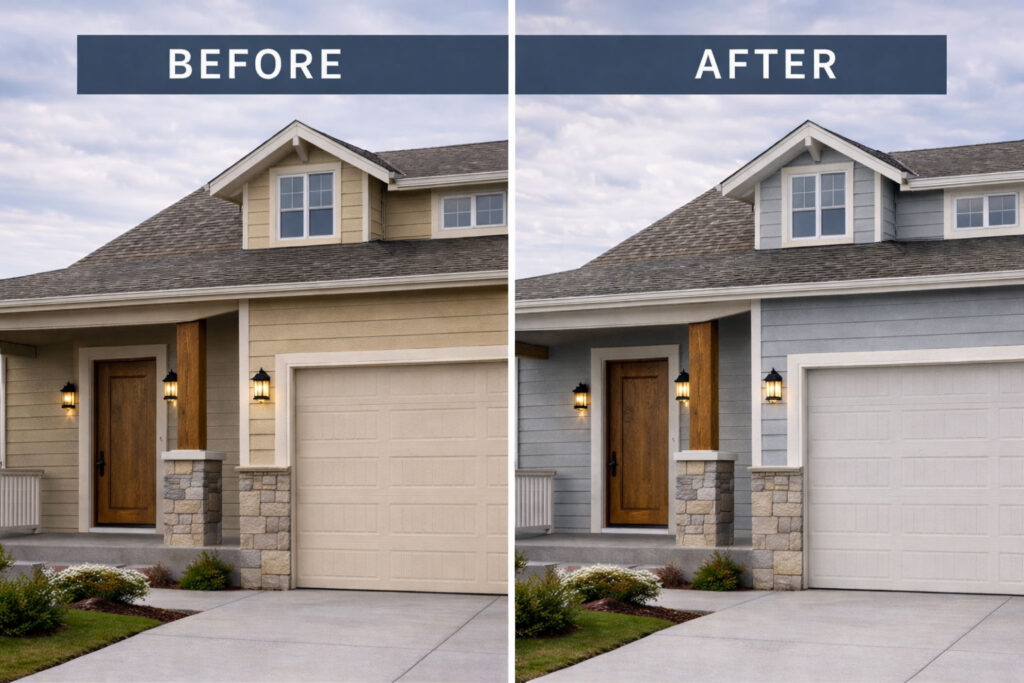
The short answer is that the best colour for outer walls of a home depends on climate, sun exposure, architectural style, surrounding materials, and long-term durability. In most U.S. regions, light neutrals, balanced grays, and muted earth tones perform best over time. This article explains how to make informed colour choices and how to execute an exterior paint project properly.
Key Factors That Affect Exterior Paint Color and Performance
Exterior paint is exposed to conditions that interior paint never encounters. Sunlight, moisture, temperature swings, and surface movement all influence how colour looks and how long it lasts. A shade that appears subtle on a paint chip can look significantly darker or brighter when applied across large exterior walls.
Climate plays a central role. In hot, sunny regions, dark colours absorb more heat, which can accelerate fading and stress siding materials. In cooler or cloudier regions, darker colours may hold their appearance better but still show wear sooner on south-facing elevations. This explains why the same colour performs differently in Arizona than in the Northeast.
Light Reflectance Value (LRV) helps explain these differences. LRV measures how much light a colour reflects on a scale from 0 to 100. Higher-LRV colours reflect more heat and light, making them more forgiving in strong sun. Lower-LRV colours absorb heat and tend to fade faster, especially on exposed walls.
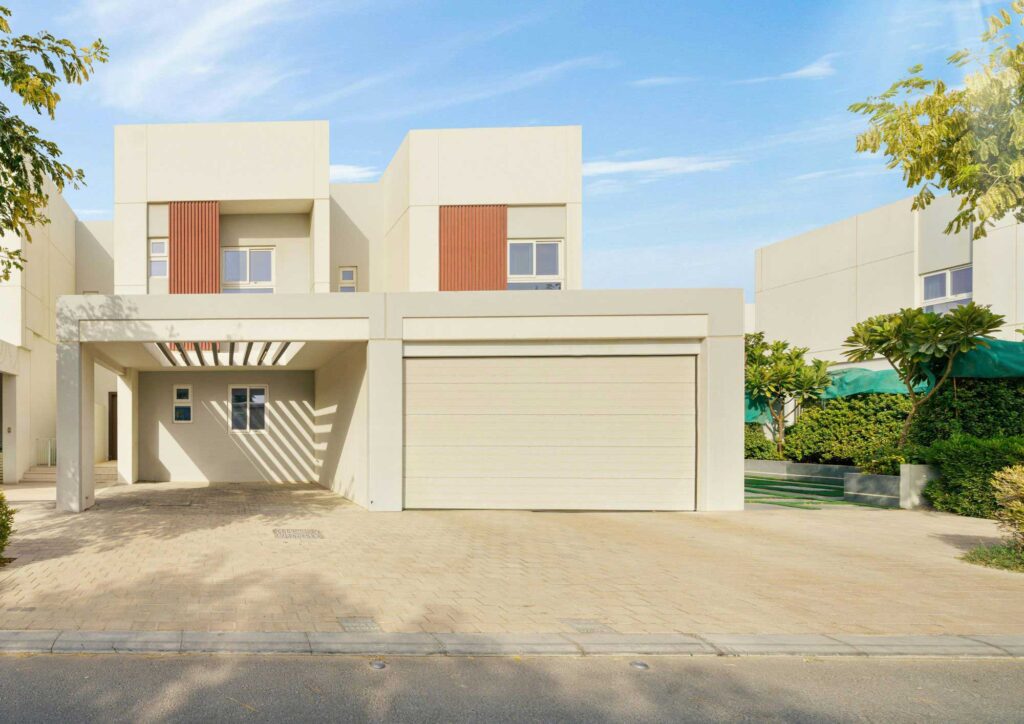
Fixed exterior elements also influence colour selection. Roof shingles, brick, stone, concrete, and hardscaping rarely change when a house is repainted. The best colour shades for outer walls usually coordinate with these materials rather than compete with them. For example, warm greige often pairs better with brown or weathered roofs than cool gray.
Siding material further limits colour options. Vinyl siding can warp if painted too dark. Stucco highlights dirt on very light colours. Wood siding emphasizes shadows and texture, making mid-tone colours more forgiving. Understanding these constraints early helps avoid costly corrections.
How Climate and Region Influence Exterior Color Choices
Regional climate shapes how exterior colours age and how they are perceived. Colour performance is not universal across the United States.
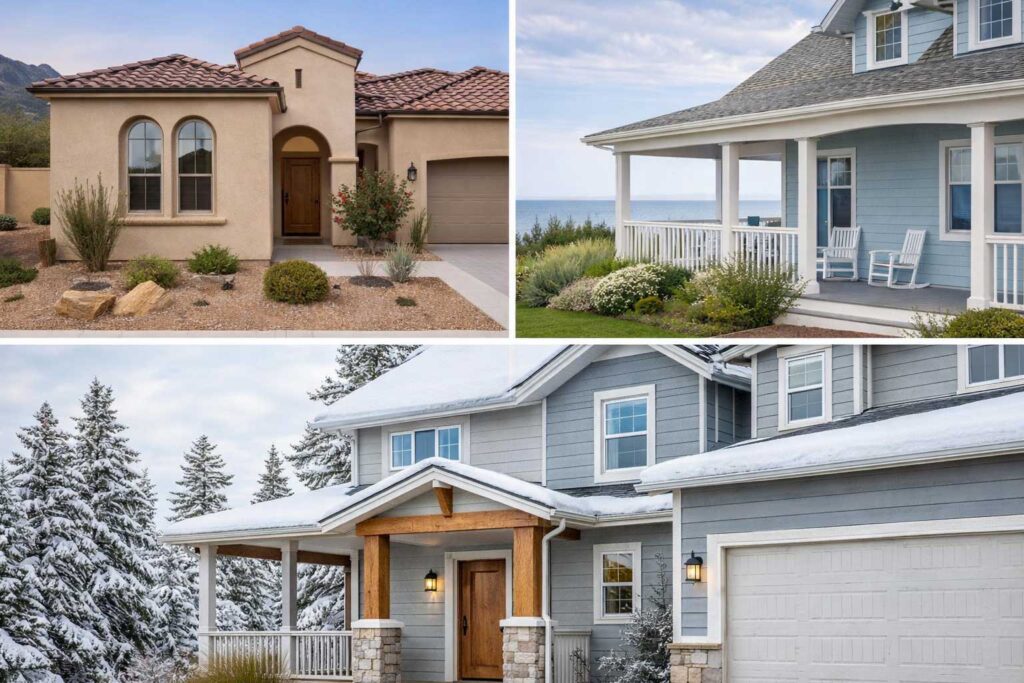
Hot & sunny regions (Southwest, Southern California, Arizona, Nevada, and parts of Texas) typically perform best with lighter colours. Off-whites, soft creams, light beige, pale greige, and muted earth tones reflect heat and fade more evenly. A warm light beige often outperforms bright white by hiding dust while reducing glare.
Humid & coastal regions (Southeast, Gulf Coast, coastal Carolinas, Florida) deal with mildew and moisture staining. Soft grays, light blue-grays, sage greens, and warm off-whites tend to hide staining better than stark white. Light blue-gray siding often shows less mildew than pure white in high-humidity environments.
Cold & northern regions (Northeast, Upper Midwest, mountain states) benefit from colours with visual depth. Medium grays, greige, muted blues, and warm taupes hold up well under overcast skies and pair naturally with stone foundations and darker roofs. A mid-tone gray that looks flat on a sample can gain depth against snow-covered surroundings.
Mixed-climate regions (Mid-Atlantic, Pacific Northwest, parts of the Midwest) typically need balance. Neutral grays, balanced greige, and muted green-gray tones adapt well to seasonal light changes and work across a range of siding materials.
Local context matters, too. Urban and suburban neighborhoods often favor neutral, low-contrast palettes that align with resale expectations and HOA guidelines. Rural properties can usually support slightly deeper or earthier tones that blend with the landscape.
Tools and Materials Required for Exterior Painting
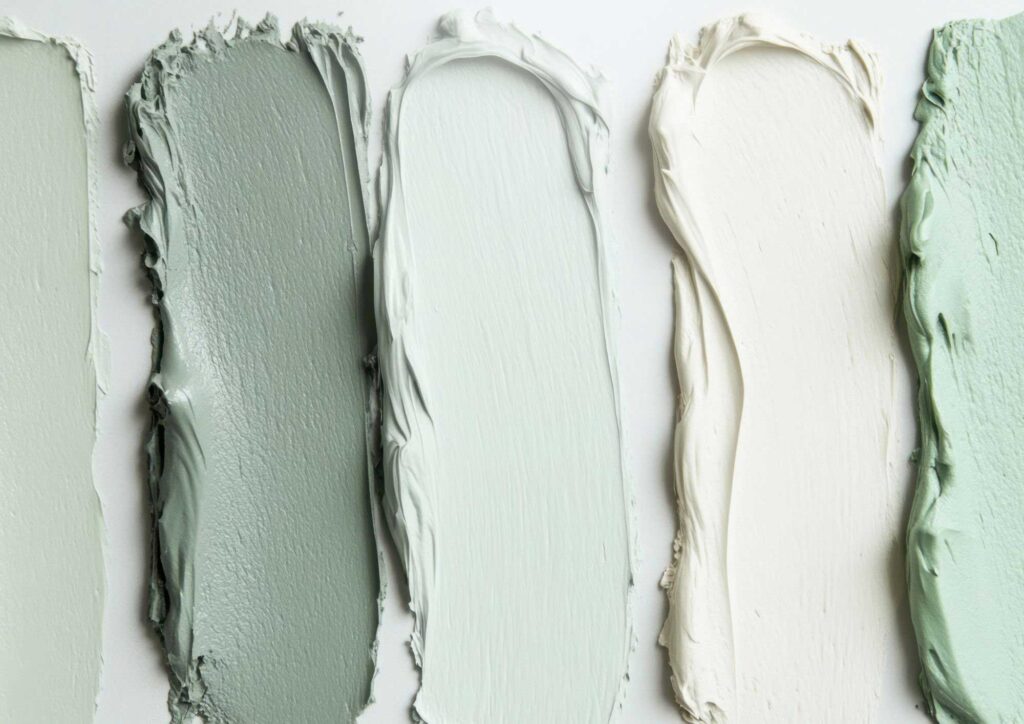
Colour selection tools are often underestimated. Large sample boards or peel-and-stick samples provide a more accurate preview than small paint chips. Testing colours on multiple elevations shows how morning, afternoon, and evening light affect appearance.
Surface preparation tools are essential for durability. A pressure washer removes dirt, mildew, and chalking that interfere with adhesion. Scrapers, wire brushes, and sandpaper remove failing paint so new coatings bond properly.
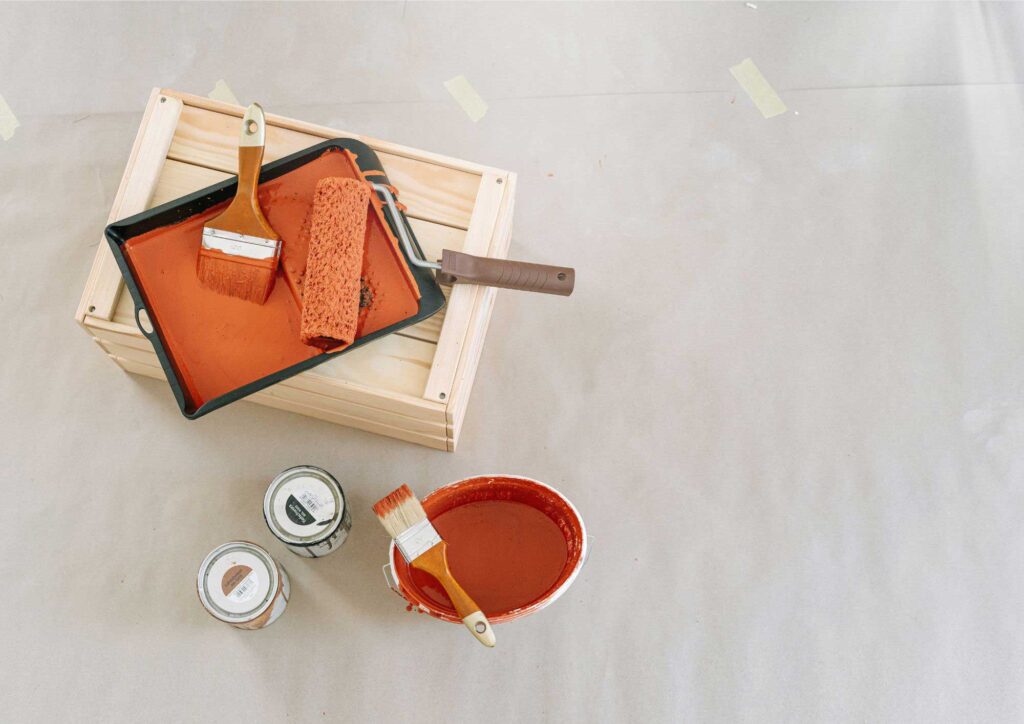
Application tools must be suited for exterior work. Exterior-rated brushes and rollers hold more paint and release it evenly over textured surfaces. Extension poles improve consistency and reduce fatigue. Paint sprayers can be efficient on large areas but require careful masking and experience.
Safety equipment should not be treated as optional. Stable ladders, ladder levelers, drop cloths, and protective gear reduce risk and property damage. Exterior painting involves height, uneven ground, and weather exposure.
Material selection should prioritize compatibility. Exterior acrylic latex paints handle moisture, expansion, and UV exposure better than older oil-based options. Primer is required on bare wood, repaired areas, and heavily weathered surfaces to ensure uniform colour and adhesion.
- Colour selection: sample boards or peel-and-stick samples, painter’s tape, marker, camera/phone for comparison photos
- Cleaning & prep: pressure washer (or hose + scrub brush), mildew remover, scrapers, wire brush, sanding blocks/paper
- Repairs: exterior patching compound (as appropriate), exterior-grade caulk, caulk gun, putty knife
- Application: exterior-rated brushes/rollers, roller covers matched to texture, extension poles, paint trays/buckets
- Protection: drop cloths, masking paper/plastic, painter’s tape, gloves, eye protection, respirator/dust mask as needed
- Access: ladder(s), ladder leveler/stabilizer, non-slip footwear
How to Paint Your House Exterior: Step-by-Step Process
Step 1: Choose the Best Colour for Outer Walls of Home
Begin with elements that will not change. Roof colour, brick, stone, and concrete set the tone for the entire exterior. A paint colour should support these features, not overpower them.
Test colours on several sides of the house. A north-facing wall often appears cooler and darker, while a south-facing wall intensifies brightness. Testing prevents uneven appearance once the project is complete.
Limit the palette. Most homes look best with one primary body colour, one trim colour, and one accent colour. Excessive colour variation tends to date a house quickly and complicates maintenance.
Consider long-term performance. Very dark colours can look striking but often fade unevenly and highlight surface defects. Neutral mid-tones typically offer the best balance of appearance, durability, and resale appeal.
- Inventory the “fixed colours”: roof, brick/stone, pavers, visible concrete, and metal finishes.
- Pick a direction: warm (tan/greige/cream) vs cool (gray/blue-gray) based on those fixed elements.
- Choose 2–3 candidates: for body colour, plus one trim colour and one accent (door/shutters).
- Test properly: paint samples on removable boards, then move them to different elevations.
- Check at multiple times: morning, midday, and late afternoon; include cloudy conditions if possible.
Step 2: Prepare the Exterior Surface
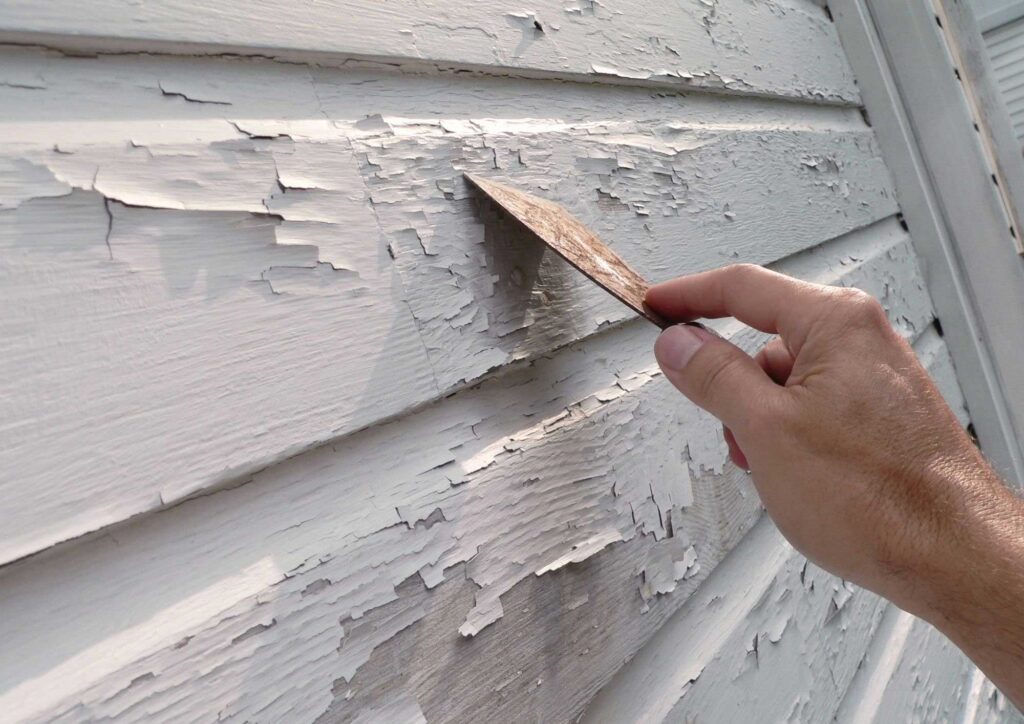
Preparation determines how long the paint will last. Start with a full inspection to identify peeling paint, soft wood, cracked caulk, and moisture stains. Painting over these issues seals in problems rather than solving them.
Clean all surfaces thoroughly. Dirt, mildew, and chalking prevent paint from bonding. Pressure washing is effective, but excessive pressure can damage siding or force water behind walls.
Remove loose paint completely and feather edges so transitions remain smooth. Repair damaged areas and recaulk joints where water can enter. Primer should only be applied once repairs are complete and surfaces are dry.
- Inspect: look for rot, loose boards, failing caulk, bubbling paint, and water staining.
- Wash: remove dirt, chalking, and mildew; let surfaces dry fully (often 24–48 hours, longer if humid).
- Scrape & sand: remove loose paint; feather edges to reduce visible “ridges” through the finish coat.
- Repair: patch cracks/holes; replace rotted wood; address obvious water entry points.
- Caulk: seal gaps at trim joints and penetrations; avoid sealing weep paths or designed drainage gaps.
- Prime: prime bare wood, patched areas, and chalky/problem areas to stabilize the surface and even out sheen.
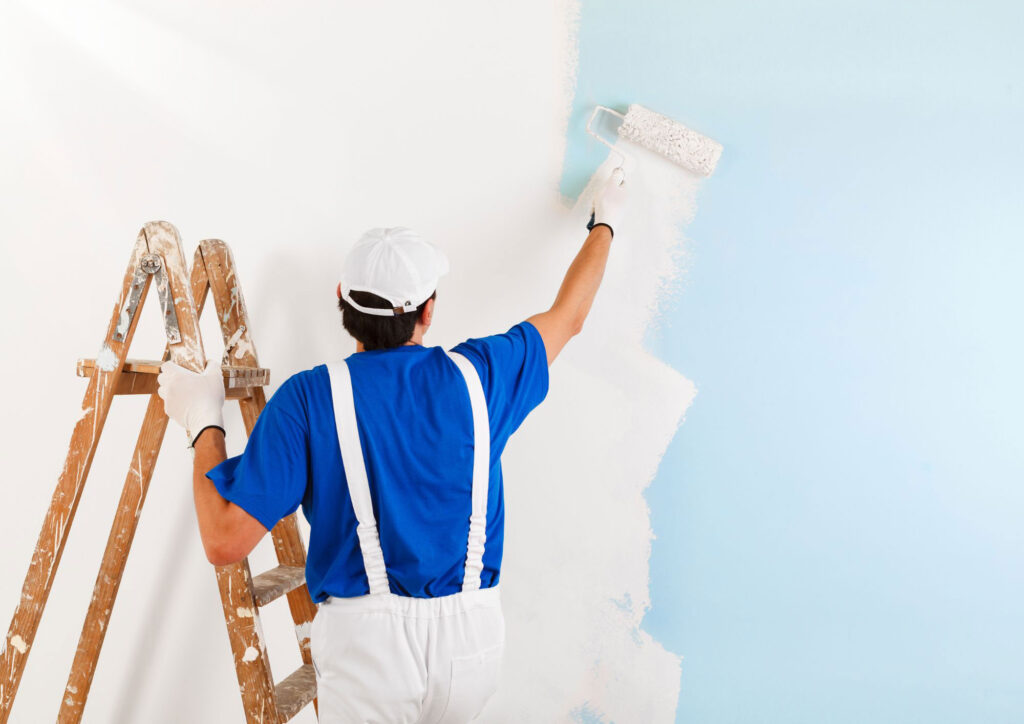
Step 3: Paint the Exterior
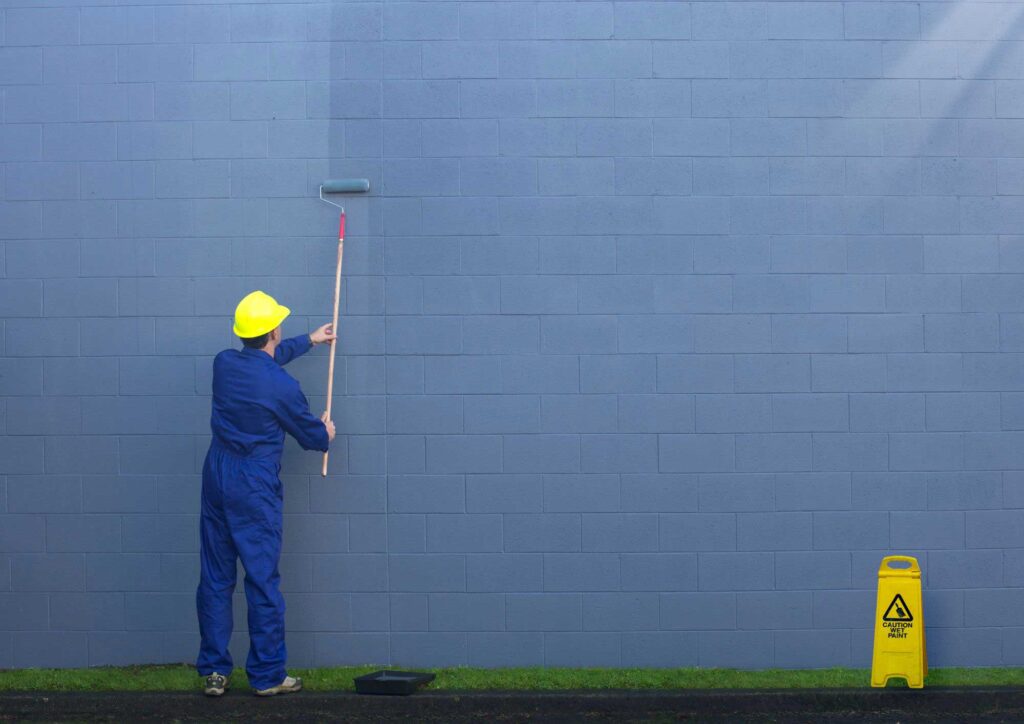
Paint trim first, followed by the main body colour. This sequence reduces masking and improves edge control. Choose application methods based on surface type and access.
Apply multiple thin coats rather than one heavy coat. Thick applications trap moisture and cure poorly. Follow manufacturer recommendations for coverage and drying time.
Work within proper weather conditions. Mild temperatures, low humidity, and dry forecasts produce the most consistent results. Extreme heat or cold compromises curing and colour uniformity.
- Plan the day: start on the shaded side and follow shade as the sun moves.
- Cut in and trim: paint trim and edges first for cleaner lines and fewer touchups later.
- Roll or spray the body: keep a “wet edge” to avoid lap marks; back-roll sprayed paint on porous surfaces when needed.
- Apply a second coat: where required for coverage, colour uniformity, and durability.
- Inspect in different light: catch thin spots and holidays before cleanup.
Frequent Exterior Paint and Color Selection Mistakes
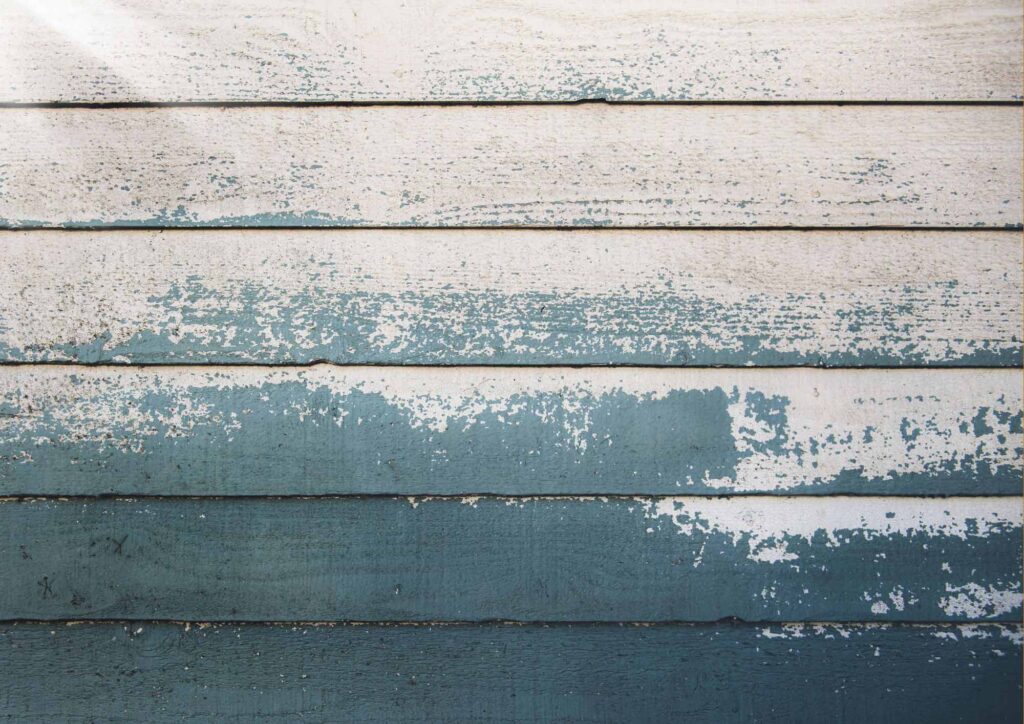
One of the most common mistakes is choosing colour without testing it on the house. Paint chips viewed indoors under artificial light rarely represent outdoor conditions.
Ignoring sun exposure is another frequent issue. Dark colours on south- and west-facing walls fade faster and show defects more clearly, leading to uneven appearance.
Skipping preparation is a costly shortcut. Paint applied over dirt, mildew, or failing coatings will peel regardless of quality.
Colour choice also affects scale. Dark colours visually compress a structure, while lighter colours make it appear larger. Poor choices can make a home feel unbalanced.
Homeowners sometimes overlook HOA or local guidelines. Repainting without approval can result in fines or mandatory repainting, eliminating any cost savings.
- Relying on a paint chip: always test larger samples outdoors and on multiple elevations.
- Choosing dark colours without considering heat: can increase fading and stress certain siding types.
- Ignoring fixed elements: roof, masonry, and hardscaping set the “non-negotiable” colour palette.
- Skipping mildew treatment: painting over active mildew leads to staining and early failure.
- Painting too soon after washing: trapped moisture causes blistering or peeling.
- Using the wrong sheen: very flat can chalk sooner; very glossy can highlight surface defects.
Safety Practices and Regulatory Considerations
Exterior painting carries real safety risks. Ladder falls are a leading cause of homeowner injury. Ladders must be placed on stable ground and extended properly when accessing upper levels.
Electrical hazards require attention. Maintain clearance from overhead power lines and avoid wet conditions near exterior electrical components.
Homes built before 1978 may contain lead-based paint. Disturbing these surfaces requires lead-safe work practices to prevent health risks. Federal regulations apply even to homeowners.
Environmental considerations include proper containment of paint debris and responsible disposal of leftover materials. Pressure-washing runoff should not enter storm drains.
Some communities require approval for exterior colour changes, particularly in historic districts or HOA-regulated neighborhoods. Verifying requirements before painting avoids compliance issues.
- Ladder safety: level ground, correct angle, secure footing; avoid overreaching.
- Fall risk: consider professional help for steep grades, high eaves, or multi-story work.
- Electrical clearance: keep tools and ladders away from service lines and overhead wires.
- Lead paint risk (pre-1978 homes): use containment, minimize dust, and follow lead-safe practices.
- Runoff & debris control: prevent wash water and paint chips from entering storm drains.
- HOA/historic review: confirm colour approvals before purchasing paint.
Frequently Asked Questions About Exterior Paint Colors
What is the best colour shade for outer walls in hot climates?
High-LRV colours such as off-white, light beige, and pale greige reflect heat and tend to fade more slowly. They also reduce surface temperature, which can be beneficial for some siding materials.
Do darker exterior colours fade faster?
Yes. Dark pigments absorb more UV radiation and heat. That combination accelerates fading and can lead to uneven appearance on the most sun-exposed elevations.
How often should you repaint a house exterior?
With proper preparation, most exterior paint lasts 10–15 years. Harsh sun, persistent humidity, or neglected prep can shorten that cycle. Your south- and west-facing walls typically show wear first.
Is white still a good exterior colour?
White remains popular, but it can show dirt, mildew, and runoff staining more readily than slightly off-white colours. If you like a white look, consider a warmer off-white that’s less stark and more forgiving.
What exterior colours support resale value?
Neutral, region-appropriate colours usually appeal to the widest range of buyers. They also reduce the impression that repainting is immediately necessary, which can affect buyer confidence during inspections.
Can vinyl siding be painted a darker colour?
Generally, darker colours increase heat buildup and can lead to warping. If you plan to paint vinyl, verify manufacturer guidance and avoid going substantially darker than the original colour unless the product explicitly allows it.
How should trim colour be selected?
Trim should provide subtle contrast with the body colour while coordinating with roofing and architectural details. High contrast can look sharp, but too much contrast can make a home feel visually “busy,” especially on detailed fасades.
Final Recommendations and When Professional Help Makes Sense
Before purchasing paint, confirm colour choices under different lighting conditions and review any HOA or local requirements. These steps prevent expensive corrections later.
DIY painting is appropriate for single-story homes with minimal repairs and safe access. Projects become more complex as height, surface damage, and regulatory considerations increase.
Professional painters are worth considering for multi-story homes, lead-paint situations, extensive preparation needs, or properties where colour choice has significant financial implications. Their value lies in preparation quality, access, and risk management.
Exterior painting combines design judgment with construction discipline. Treating it as a technical project rather than a cosmetic task leads to better performance, longer service life, and stronger long-term value.
- DIY is a good fit when: the home is one story, surfaces are sound, and you can work safely from the ground or a stable ladder setup.
- Call a pro when: the home is multi-story, prep is extensive, access is risky, or lead paint may be present.
- Best final check: walk the house at different times of day and confirm your body/trim/accent balance before committing.