 Introduction
 Introduction
This guide is for homeowners, DIY-inclined residents, landlords, and property investors who want a practical method for maintaining a bathroom shower without relying on harsh commercial cleaners. Over time, showers collect soap residue, mineral deposits from hard water, and body oils. These materials combine to form a dull film on tile, glass, and fixtures. If the buildup is not removed regularly, it can trap moisture and contribute to mildew growth, stained grout, and reduced fixture performance.
Cleaning the shower with baking soda and vinegar works because each ingredient performs a different role. Baking soda provides mild abrasion that helps lift residue from surfaces during scrubbing. Vinegar dissolves mineral deposits left behind by hard water. Used together and applied correctly, the method works well for routine maintenance on ceramic tile, fiberglass surrounds, glass doors, and chrome fixtures.
The basic process is straightforward. Baking soda is applied first to create gentle scrubbing action. Vinegar is then sprayed over the surface to help loosen soap scum and mineral scale. After a short reaction period, the area is scrubbed lightly and rinsed thoroughly. The following sections explain how to apply this method effectively, where it works best, and when cleaning alone cannot resolve a shower maintenance issue.
What to Understand Before You Begin
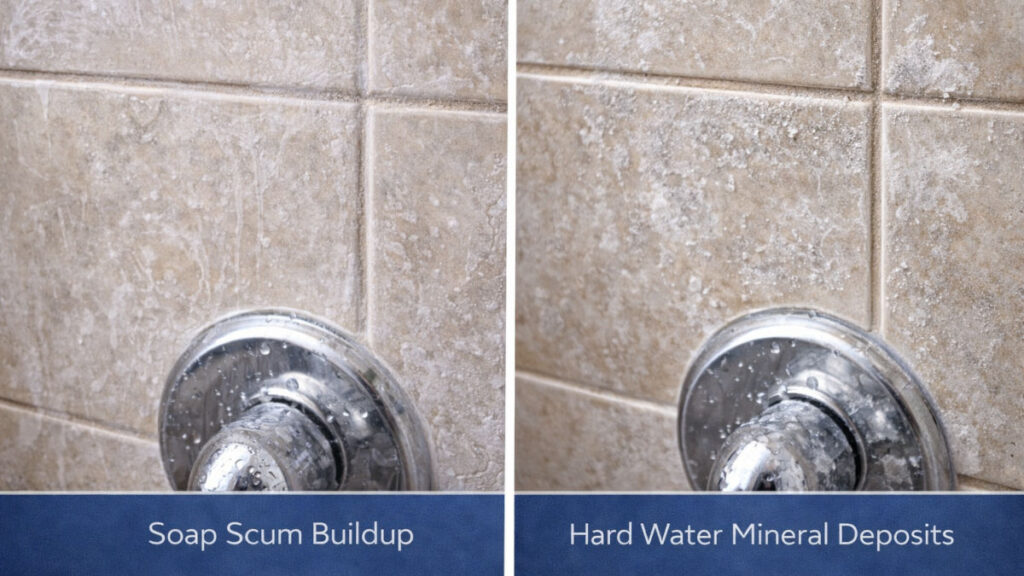
Understanding the source of shower buildup helps explain why this cleaning method is effective. Most residue on shower surfaces is a combination of soap scum and mineral deposits. Soap reacts with minerals such as calcium and magnesium in tap water, forming a sticky film that clings to tile, glass, and fixtures. Over time, that film traps dirt and body oils, creating the cloudy appearance often seen on shower doors and walls.
Vinegar is effective in these situations because it contains acetic acid. The acid dissolves calcium-based mineral deposits and helps loosen soap residue. Baking soda contributes mechanical cleaning action. Its fine particles provide mild abrasion that lifts residue without scratching most common bathroom materials.
Material compatibility should always be considered before using vinegar. Ceramic tile, glass, stainless steel, and most chrome finishes generally tolerate vinegar cleaning well. Fiberglass shower pans and acrylic surrounds can also be cleaned safely when soft sponges or microfiber pads are used. Natural stone surfaces such as marble, limestone, or travertine should not be cleaned with vinegar because acidic cleaners can etch the stone and permanently dull the finish.
Water hardness also affects cleaning frequency. Many areas of the United States have moderate to high mineral content in the water supply. In those homes, mineral scale can begin forming within weeks. Routine cleaning every one to two weeks prevents deposits from building into a thicker layer that requires more aggressive scrubbing.
Shower cleaning is also closely related to other bathroom maintenance tasks. The same vinegar that removes mineral deposits from shower surfaces can help descale a shower head or dissolve mineral rings in a toilet bowl. Baking soda can also be used for toilet cleaning because it scrubs porcelain gently without scratching it.
Tools and Supplies Required
Cleaning a shower effectively does not require specialized equipment. Basic household supplies are usually sufficient when used correctly.
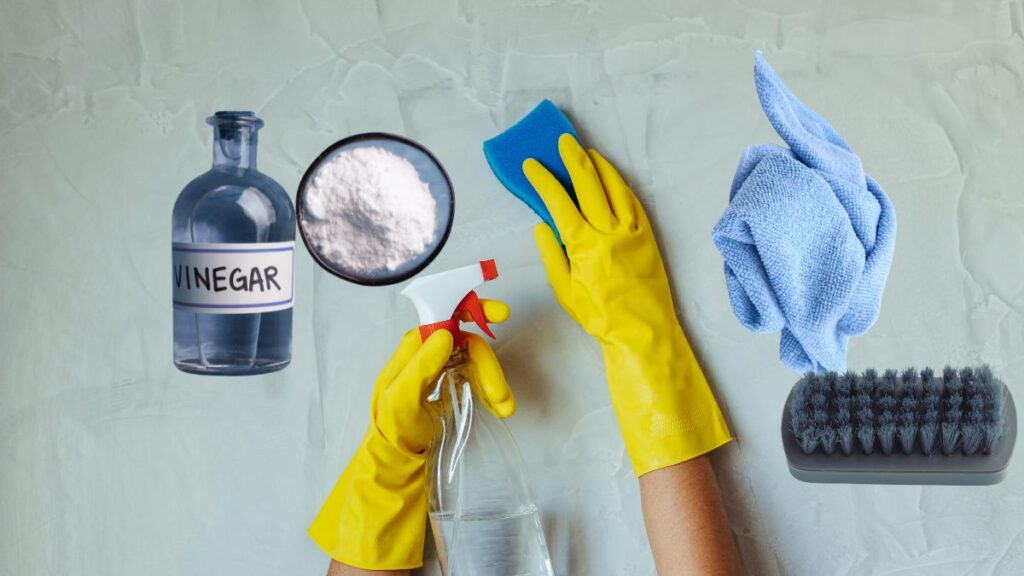
Baking soda acts as the primary scrubbing agent. When mixed with a small amount of water, it forms a paste that lifts soap scum and residue during light scrubbing. White distilled vinegar provides the acidic component that dissolves mineral buildup caused by hard water. A spray bottle allows vinegar to be applied evenly to shower walls, glass doors, and fixtures.
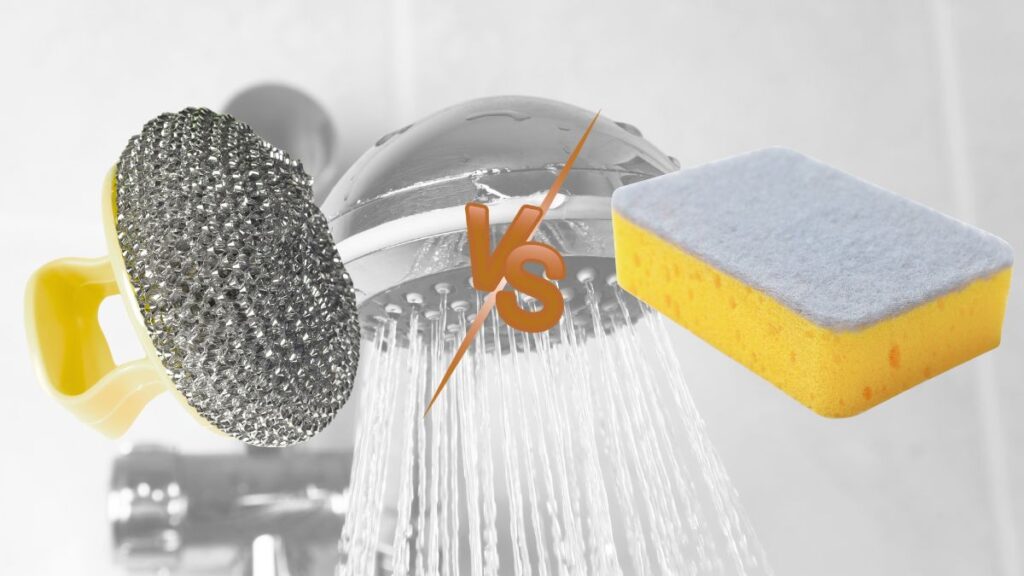
Soft cleaning tools are important for protecting surfaces. Non-scratch sponges or microfiber scrub pads are suitable for fiberglass surrounds and acrylic shower pans. A soft-bristle brush or grout brush is useful for cleaning grout lines where soap residue often collects. An old toothbrush can reach narrow areas around faucet trim plates, shower valves, and sliding door tracks.
A small bowl helps mix baking soda with water to form a thick paste. Microfiber cloths are useful for wiping fixtures after rinsing, which reduces water spotting on chrome and glass. Rubber gloves are optional but helpful when cleaning larger showers or when skin sensitivity is a concern.
For related maintenance tasks, two additional items are helpful. Dish soap can be mixed with vinegar when cleaning greasy soap film from shower glass. A plastic bag and rubber band allow the shower head to be soaked in vinegar to dissolve mineral buildup in the spray openings.
How to Clean the Shower Step by Step
Step 1: Prepare the Shower for Cleaning
Begin by removing items stored inside the shower such as shampoo bottles, soap dishes, and bath accessories. These objects often trap water underneath them and create areas where soap scum builds up more quickly. Clearing the space allows the entire surface to be cleaned evenly.
Next, rinse the shower walls and floor with warm water for about one minute. This softens dried soap residue and loosens dust or debris on the surface. Warm water also slightly heats tile and glass, allowing cleaning solutions to spread more evenly during scrubbing.
Before applying cleaning materials, inspect the shower carefully. Areas near the floor, corners where walls meet, and the bottom track of sliding doors typically collect the most buildup because water tends to linger there after each use.
If your shower includes natural stone tile or decorative stone accents, avoid using vinegar on those surfaces. Acidic cleaners can damage the finish and leave permanent dull marks. At this stage, it is also helpful to turn on the bathroom exhaust fan or open a window to improve ventilation while cleaning.
Step 2: Apply the Baking Soda and Vinegar Method
Create a simple baking soda paste by placing several tablespoons of baking soda in a bowl and adding small amounts of water until the mixture becomes thick and spreadable. The paste should be firm enough to cling to walls without running.
Apply the paste to areas where buildup is visible, such as grout joints, textured shower floors, and the lower sections of shower walls. These locations typically accumulate the most soap residue. Spread the paste evenly with a sponge or gloved hand.
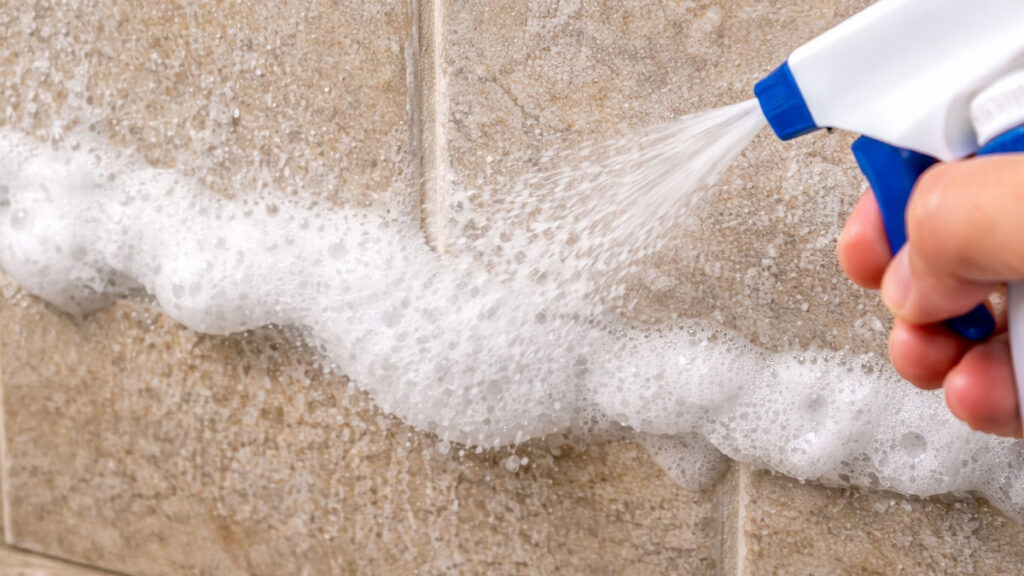
Once the baking soda paste is in place, spray vinegar lightly across the treated areas. The mixture will begin to fizz as the acid reacts with the baking soda. This reaction helps loosen deposits that have adhered to the surface. Allow the mixture to remain in place for several minutes so the vinegar can begin dissolving mineral buildup.
After a short waiting period, scrub the surface gently using a non-scratch sponge or soft brush. Pay particular attention to grout lines and textured surfaces where soap scum tends to collect. Avoid aggressive scrubbing because it can damage fiberglass or erode grout.
Rinse the entire area thoroughly with warm water. Proper rinsing prevents baking soda residue from drying into a powdery film. If buildup remains in certain spots, repeat the process rather than applying excessive pressure while scrubbing.
Step 3: Clean Fixtures and Other Bathroom Components
After cleaning the main shower surfaces, shift attention to fixtures and smaller components that often collect mineral deposits. Chrome shower trim, faucet handles, and metal shower door frames can be sprayed lightly with vinegar and wiped with a microfiber cloth. This removes water spots and restores clarity without scratching the finish.
Shower glass frequently develops a cloudy appearance caused by soap film combined with mineral scale. In this case, a mixture of vinegar and dish soap is often more effective. Dish soap cuts through oily residue while vinegar dissolves minerals that create haze on the glass. Spray the mixture lightly, allow it to sit briefly, then wipe with a sponge before rinsing.
This method serves a slightly different purpose than baking soda paste. The baking soda method is better suited for scrubbing textured surfaces such as grout and shower floors. Vinegar combined with dish soap is better for smooth surfaces like glass and metal trim.
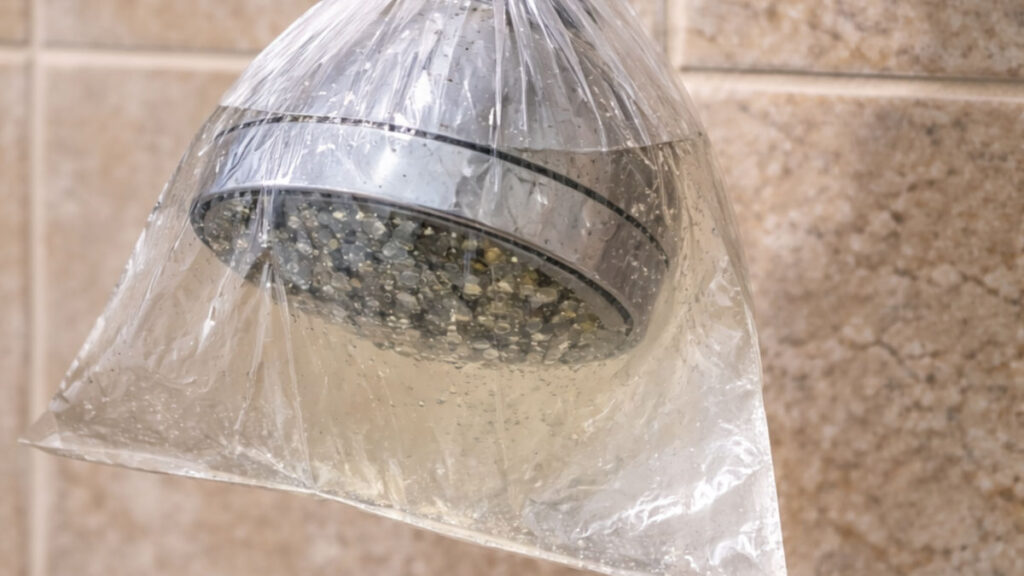
The shower head is another place where mineral deposits gradually form. Hard water minerals can clog the small spray openings and reduce water pressure. To clean it, fill a plastic bag with vinegar and secure it around the shower head with a rubber band. After soaking for about an hour, remove the bag and run the shower briefly to flush out loosened deposits.
Since the bathroom is already being cleaned, many homeowners also address the toilet during the same session. Baking soda can be sprinkled into the bowl and scrubbed with a toilet brush to remove stains and neutralize odors. Vinegar can then be added to help dissolve mineral rings that form at the water line.
Mistakes to Avoid When Using Baking Soda and Vinegar
A common mistake is mixing baking soda and vinegar together in a container before applying the mixture. When combined immediately, the chemical reaction occurs in the bowl rather than on the surface that needs cleaning. Applying baking soda first and spraying vinegar afterward ensures the reaction takes place where buildup exists.
Another frequent issue is using overly abrasive tools. Steel wool or harsh scouring pads can scratch fiberglass shower pans, acrylic surrounds, and glass doors. Once scratched, these surfaces trap dirt more easily and become harder to keep clean.
Allowing vinegar to sit on metal fixtures for extended periods can also damage decorative finishes. While short contact helps dissolve mineral scale, prolonged exposure may dull certain coatings. Rinsing fixtures promptly after cleaning prevents this problem.
Some homeowners attempt to use vinegar on natural stone surfaces because it works well on tile and glass. Acidic cleaners react with calcium in stone materials and can leave permanent etching that dulls the surface.
Another mistake is neglecting ventilation while cleaning. Vinegar odor can become strong in enclosed bathrooms. Running the exhaust fan improves air circulation and prevents the smell from lingering.
Finally, waiting too long between cleanings allows soap scum and mineral deposits to harden into thicker layers that are more difficult to remove.
Safety Precautions and Basic Code Awareness
Bathroom cleaning involves water, chemicals, and electrical fixtures located close together. A few precautions help prevent damage and reduce health risks.
Never mix vinegar with bleach or chlorine-based cleaners. Combining these products can create harmful fumes that irritate the lungs and eyes. If bleach was used recently, rinse the surfaces thoroughly with water before applying vinegar.
Ventilation also plays an important role. Residential building codes generally require bathrooms to have either an operable window or a mechanical exhaust fan that vents outdoors. Running the exhaust fan while cleaning removes moisture and odors while reducing conditions that encourage mold growth.
Electrical safety should also be considered. Bathrooms typically include ground-fault circuit interrupter outlets to reduce shock risk. When spraying cleaning solutions in the shower area, avoid directing liquids toward nearby outlets, switches, or lighting fixtures.
Take care when scrubbing around caulked joints. Silicone caulk forms a waterproof seal where the shower walls meet the pan or tub. Aggressive scrubbing or sharp tools can damage this seal and allow water to reach the wall cavity behind the shower.
Finally, always consider the materials used in the shower. Fiberglass, acrylic, tile, and glass all respond differently to cleaning tools. Using gentle methods helps preserve these materials and prevents damage that could eventually lead to leaks or surface deterioration.
Frequently Asked Questions
Does baking soda and vinegar really clean shower buildup?
Yes. Baking soda provides mild abrasion that helps scrub away soap residue, while vinegar dissolves mineral deposits left behind by hard water. Together they work well for routine cleaning where buildup is moderate.
How often should a shower be cleaned with vinegar?
In homes with moderate or hard water, cleaning every one to two weeks helps prevent mineral deposits from forming thick layers. In areas with softer water, cleaning may be needed less often.
Can vinegar damage shower grout?
Short contact typically does not harm sealed grout. However, unsealed or deteriorating grout may weaken if exposed repeatedly to acidic cleaners. Rinsing the surface thoroughly after cleaning helps protect grout.
What is the difference between baking soda and vinegar cleaning and vinegar with dish soap?
Baking soda and vinegar are useful for scrubbing textured areas such as grout and shower floors. Vinegar mixed with dish soap is more effective for removing greasy soap film from smooth surfaces like shower glass.
Is vinegar safe for cleaning a shower head?
Yes. Soaking a shower head in vinegar dissolves mineral deposits that clog the spray openings and reduce water flow. This maintenance step often restores normal spray patterns.
Can baking soda clean a toilet effectively?
Yes. Baking soda works as a mild abrasive inside a toilet bowl and helps remove stains without scratching the porcelain surface.
Can vinegar remove toilet mineral rings?
Vinegar dissolves the calcium deposits that form mineral rings at the water line inside toilet bowls.
Maintenance Advice and When Professional Help Is Needed
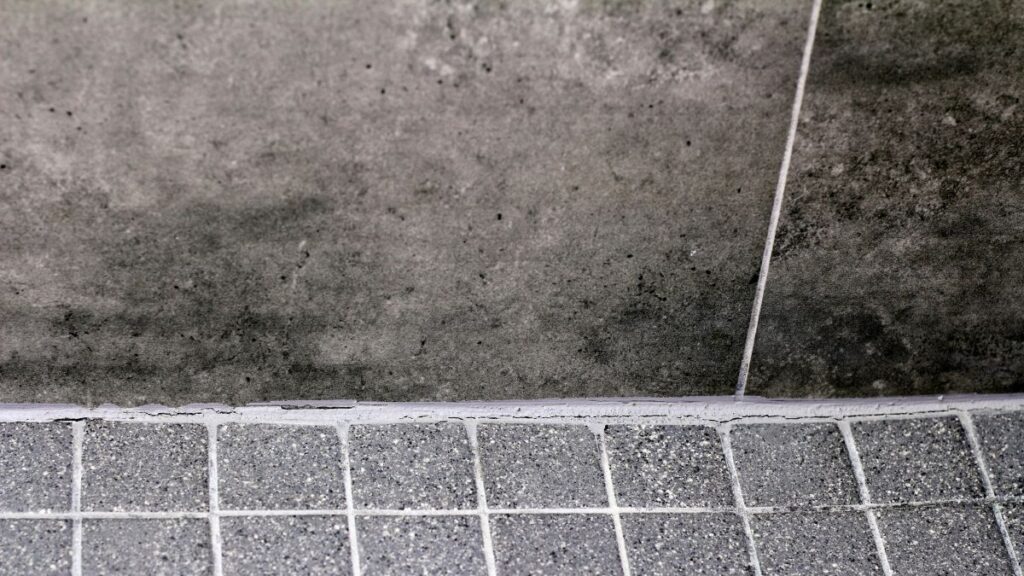
Routine cleaning keeps most showers in good condition, but cleaning alone cannot resolve structural or plumbing issues. If mold repeatedly appears in the same location despite regular cleaning, moisture may be entering behind the tile or wall surface. This situation often requires professional inspection to identify the underlying cause.
Cracked or crumbling grout is another sign that maintenance beyond cleaning may be necessary. Grout that breaks apart during cleaning can allow water to penetrate behind the tile. Regrouting and resealing may be required to restore the waterproof barrier.
Deteriorated caulk along the base of the shower should also be addressed. When caulk separates from the wall or shower pan, water can seep into wall cavities and cause hidden damage. Removing the old caulk and applying new silicone sealant restores the waterproof seal.
Persistent drainage problems may indicate a clog deeper in the plumbing system. If the shower drains slowly even after visible debris is removed, a plumber may need to inspect and clear the pipe.
Regular maintenance remains the best prevention strategy. Cleaning the shower every couple of weeks, rinsing surfaces after use, and occasionally descaling the shower head will help keep most bathrooms functioning properly while reducing the likelihood of larger repairs later.