Updating your kitchen with a traditional design that includes a stylish island can elevate both the function and aesthetic of your space. This guide is perfect for homeowners, DIYers, property investors, and contractors who are looking to enhance their kitchens with an island that offers both style and practicality. Whether you’re adding a kitchen island with a granite top and seating or designing your own, this article provides the step-by-step guidance you need. By the end, you’ll understand how to create a kitchen centerpiece that fits seamlessly into your home.
What to Consider Before Starting Your Kitchen Island Project
Before diving into the installation or design of a kitchen island, it’s crucial to think through the key aspects that will affect your island’s functionality and look. Here’s what you need to know:
Space Requirements
The first step is measuring your kitchen space. You need to ensure that your island fits comfortably without blocking essential areas or creating congestion. Allow at least 3 feet of clearance around the island. This ensures easy movement between the kitchen’s main areas—like the stove, sink, and fridge—while providing ample space for cooking and dining. If your kitchen is smaller, a compact island or a table island with seating may be the better choice.
Island Functionality
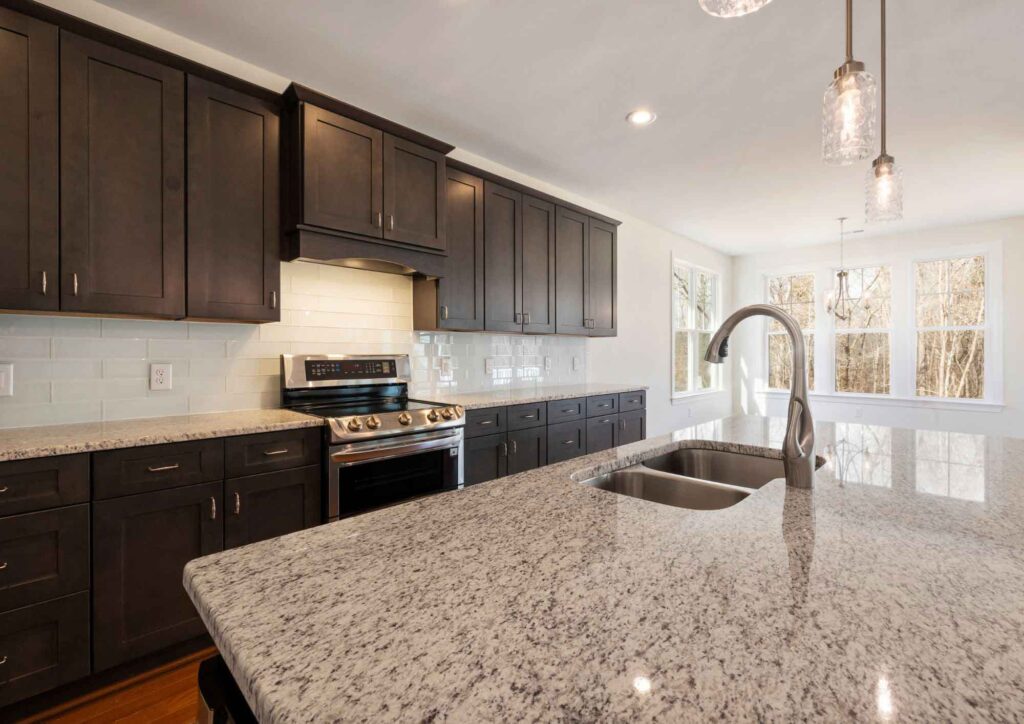
Consider how you want the island to serve your kitchen needs. A kitchen island with a granite top and seating is ideal for both preparing meals and enjoying casual dining. Think about whether you need the island for extra prep space, storage, or as a social hub. It’s also helpful to think about integrating built-in features like a sink or a cooktop if you want to maximize its functionality.
Design and Material Choices
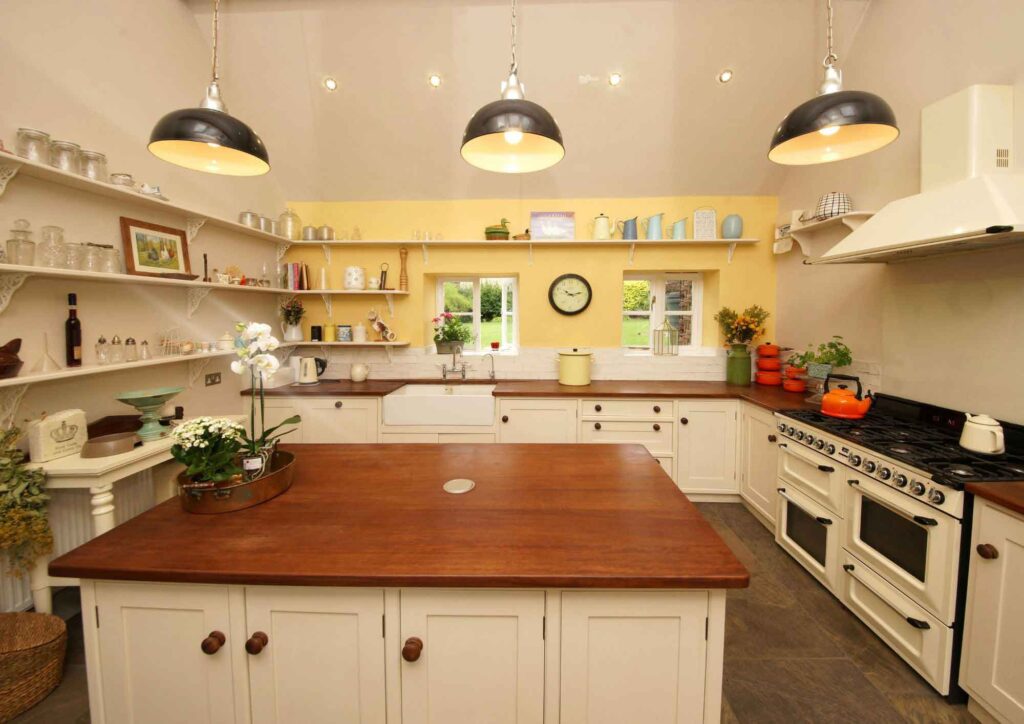
Traditional kitchen islands often use natural materials like wood and stone to create a warm, timeless feel. For instance, a wooden island with shaker-style cabinetry and a granite countertop complements a classic kitchen design. Ensure the island material matches the existing décor of your kitchen and serves both practical and aesthetic purposes.
Tools and Materials You’ll Need
Whether you’re building a kitchen island from scratch or upgrading an existing one, here’s a list of the essential tools and materials:
Tools:
- Power drill
- Measuring tape
- Circular saw or jigsaw
- Screwdriver
- Level
- Hammer
- Sandpaper
- Clamps
- Paint or stain brushes
Materials:
- Wood (such as plywood or solid wood for the base)
- Granite slabs for the countertop
- Cabinetry components (doors, drawers, etc.)
- Seating (stools or chairs)
- Fasteners (screws, nails)
- Paint, stain, or finish for cabinetry
Make sure to choose materials that provide durability and style. Granite countertops are a popular choice because they’re resistant to heat and scratches. The base should be sturdy enough to support the countertop and appliances, and any additional features, such as seating.
Step-by-Step Guide to Installing a Kitchen Island
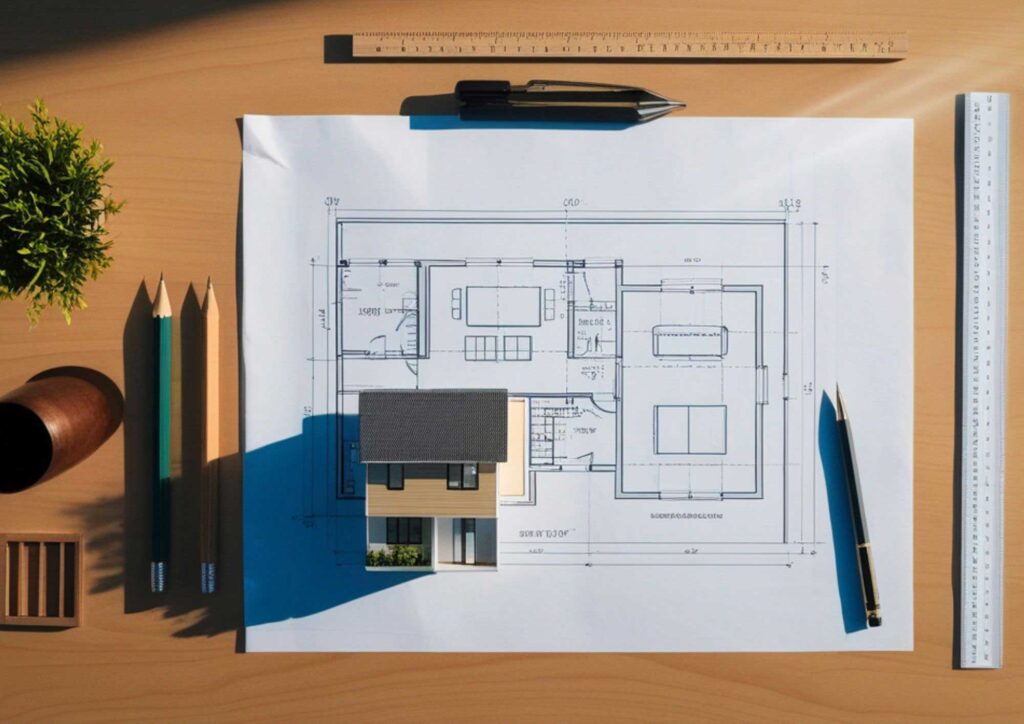
Step 1: Plan and Measure Your Space
Start by carefully measuring the area where the island will go. Take note of the available space and ensure there’s enough room around the island for comfortable movement. If you plan to incorporate seating, consider the space needed for stools or chairs, making sure they won’t crowd the area. Drawing a rough sketch of your layout to scale will help you visualize how the island will fit into the space.
Example: If you’re working with a smaller kitchen, a compact island or a table island with seating might be the perfect solution. These can provide the functionality of an island without taking up too much space.
Step 2: Install the Base Cabinets

Once you’ve settled on the island’s dimensions and layout, the next step is to install the base cabinets. Choose wood finishes that complement the rest of your kitchen, such as oak or cherry. Whether you’re using pre-made cabinetry or custom-building the base, ensure the structure is level and securely fastened to the floor. Proper installation of the base is essential for supporting the countertop and any additional appliances or seating.
Why It’s Important: A sturdy base ensures the island will remain stable, allowing it to function as both a practical workspace and a focal point in the kitchen.
Step 3: Add the Countertop and Seating
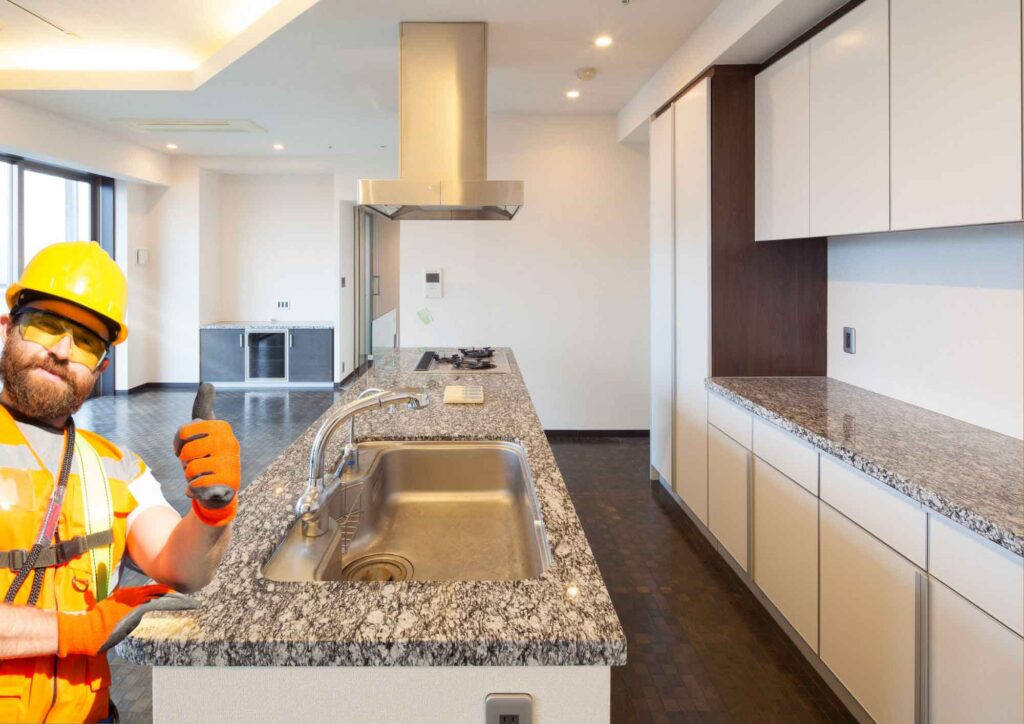
After securing the base, it’s time to install your countertop. Granite is a durable and timeless choice, but you can opt for quartz or marble if you prefer. Professional installation is recommended for granite, but you can install pre-cut slabs if you’re confident in your DIY skills. Once the countertop is set, add seating around the island, ensuring that there’s enough legroom for comfort.
Why It’s Important: A solid countertop not only enhances the island’s functionality but also adds a sophisticated touch to the kitchen. Proper seating installation ensures the island serves as a dining area or social space.
Avoid These Common Mistakes
When designing or installing a kitchen island, certain mistakes can hinder its functionality or aesthetic. Here’s how to avoid them:
1. Underestimating Space Requirements
It’s easy to get excited and pick an island that looks great but doesn’t leave enough space around it. Always ensure at least 3 feet of clearance for smooth movement between the kitchen’s main areas. If the island takes up too much space, it can disrupt the flow of the kitchen.
2. Focusing Too Much on Aesthetics
While a beautiful island is important, functionality should never take a backseat. If the island doesn’t provide enough storage or workspace, it won’t live up to its potential. Design the island to serve multiple purposes, like storage and seating, in addition to its visual appeal.
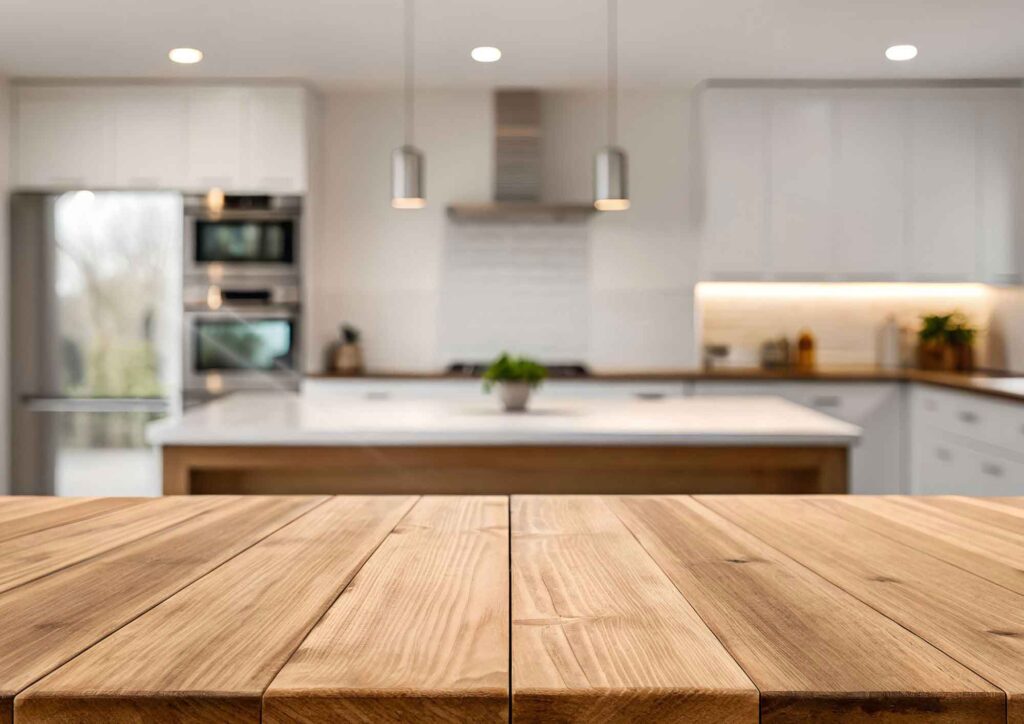
3. Skimping on Lighting
A well-lit island is essential for its functionality. Without proper lighting, the island becomes a dark spot in the kitchen, limiting its usability. Consider installing pendant lights or recessed lighting above the island to ensure it’s bright and usable at all times.
Safety Guidelines and Code Requirements
When building or installing a kitchen island, adhering to safety guidelines and local codes is critical:
Electrical and Plumbing Safety
If your island includes electrical outlets or appliances, you’ll need to adhere to local electrical codes. This includes proper outlet placement and wiring to prevent overloads. If installing a sink or dishwasher, follow plumbing codes to ensure proper drainage, venting, and connections.

Ventilation
If you’re installing a cooktop, make sure you have a range hood or another ventilation system in place to prevent cooking fumes from accumulating.
Fire Safety
Maintain a clearance of at least 36 inches from heat-producing appliances to prevent fire hazards. Proper spacing also ensures that you can safely move around the kitchen without risk.
Frequently Asked Questions (FAQs)
What’s the best material for a kitchen island countertop?
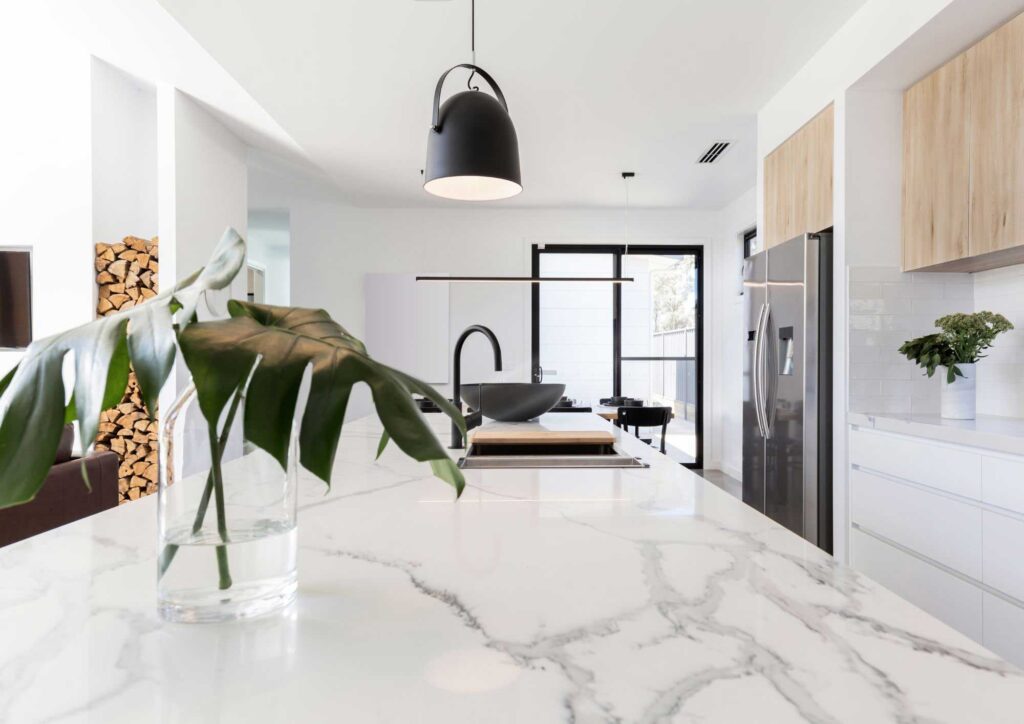
Granite is a durable, scratch-resistant, and timeless option for kitchen islands. If you’re looking for something lower maintenance, quartz is another excellent choice.
Can I add seating to my kitchen island?
Yes, you can incorporate seating around your island. The standard height for seating is 24–26 inches, with at least 12–18 inches of legroom for comfort.
How much space should I leave around my island?
Make sure to leave a minimum of 3 feet of clearance between the island and other kitchen features. This ensures there’s enough room to move around and prevents the island from obstructing kitchen flow.
Final Tips and When to Seek Professional Help
While many aspects of kitchen island installation can be done by DIYers, some tasks require professional expertise. If you’re adding electrical outlets, plumbing, or appliances, it’s best to consult a licensed professional to ensure the work meets local building codes.
Additionally, granite countertop installation is often best left to the experts. Professionals ensure that the stone is cut correctly and fitted securely, minimizing the risk of damage.
By following these steps, you’ll be able to design and install a kitchen island that enhances both the functionality and visual appeal of your space. Whether you’re building from scratch or upgrading an existing island, this guide will help you make informed decisions about your project. With careful planning and the right materials, your kitchen island can become the heart of your home.